Welcome to September! The breeze has gotten colder, the fruits are ready for harvest, and sweaters are making their return. I thought I would share my process on how I created my most recent lino print from home as an awesome activity to do inside this fall. My own knowledge of linoleum cut printmaking comes from my university classes where I learned the professional method of printing with a press and oil based inks. So learning to adapt these methods to the kitchen table studio with no press was really interesting for me. Through a lot of research online, I still had trouble finding some answers to my questions about this process so I thought I should share my experience in case anyone had the same questions. And if you have a question about this process that I missed, don’t hesitate to reach out or leave it in the comments! Here we go: how to create a lino cut print from home (no press).
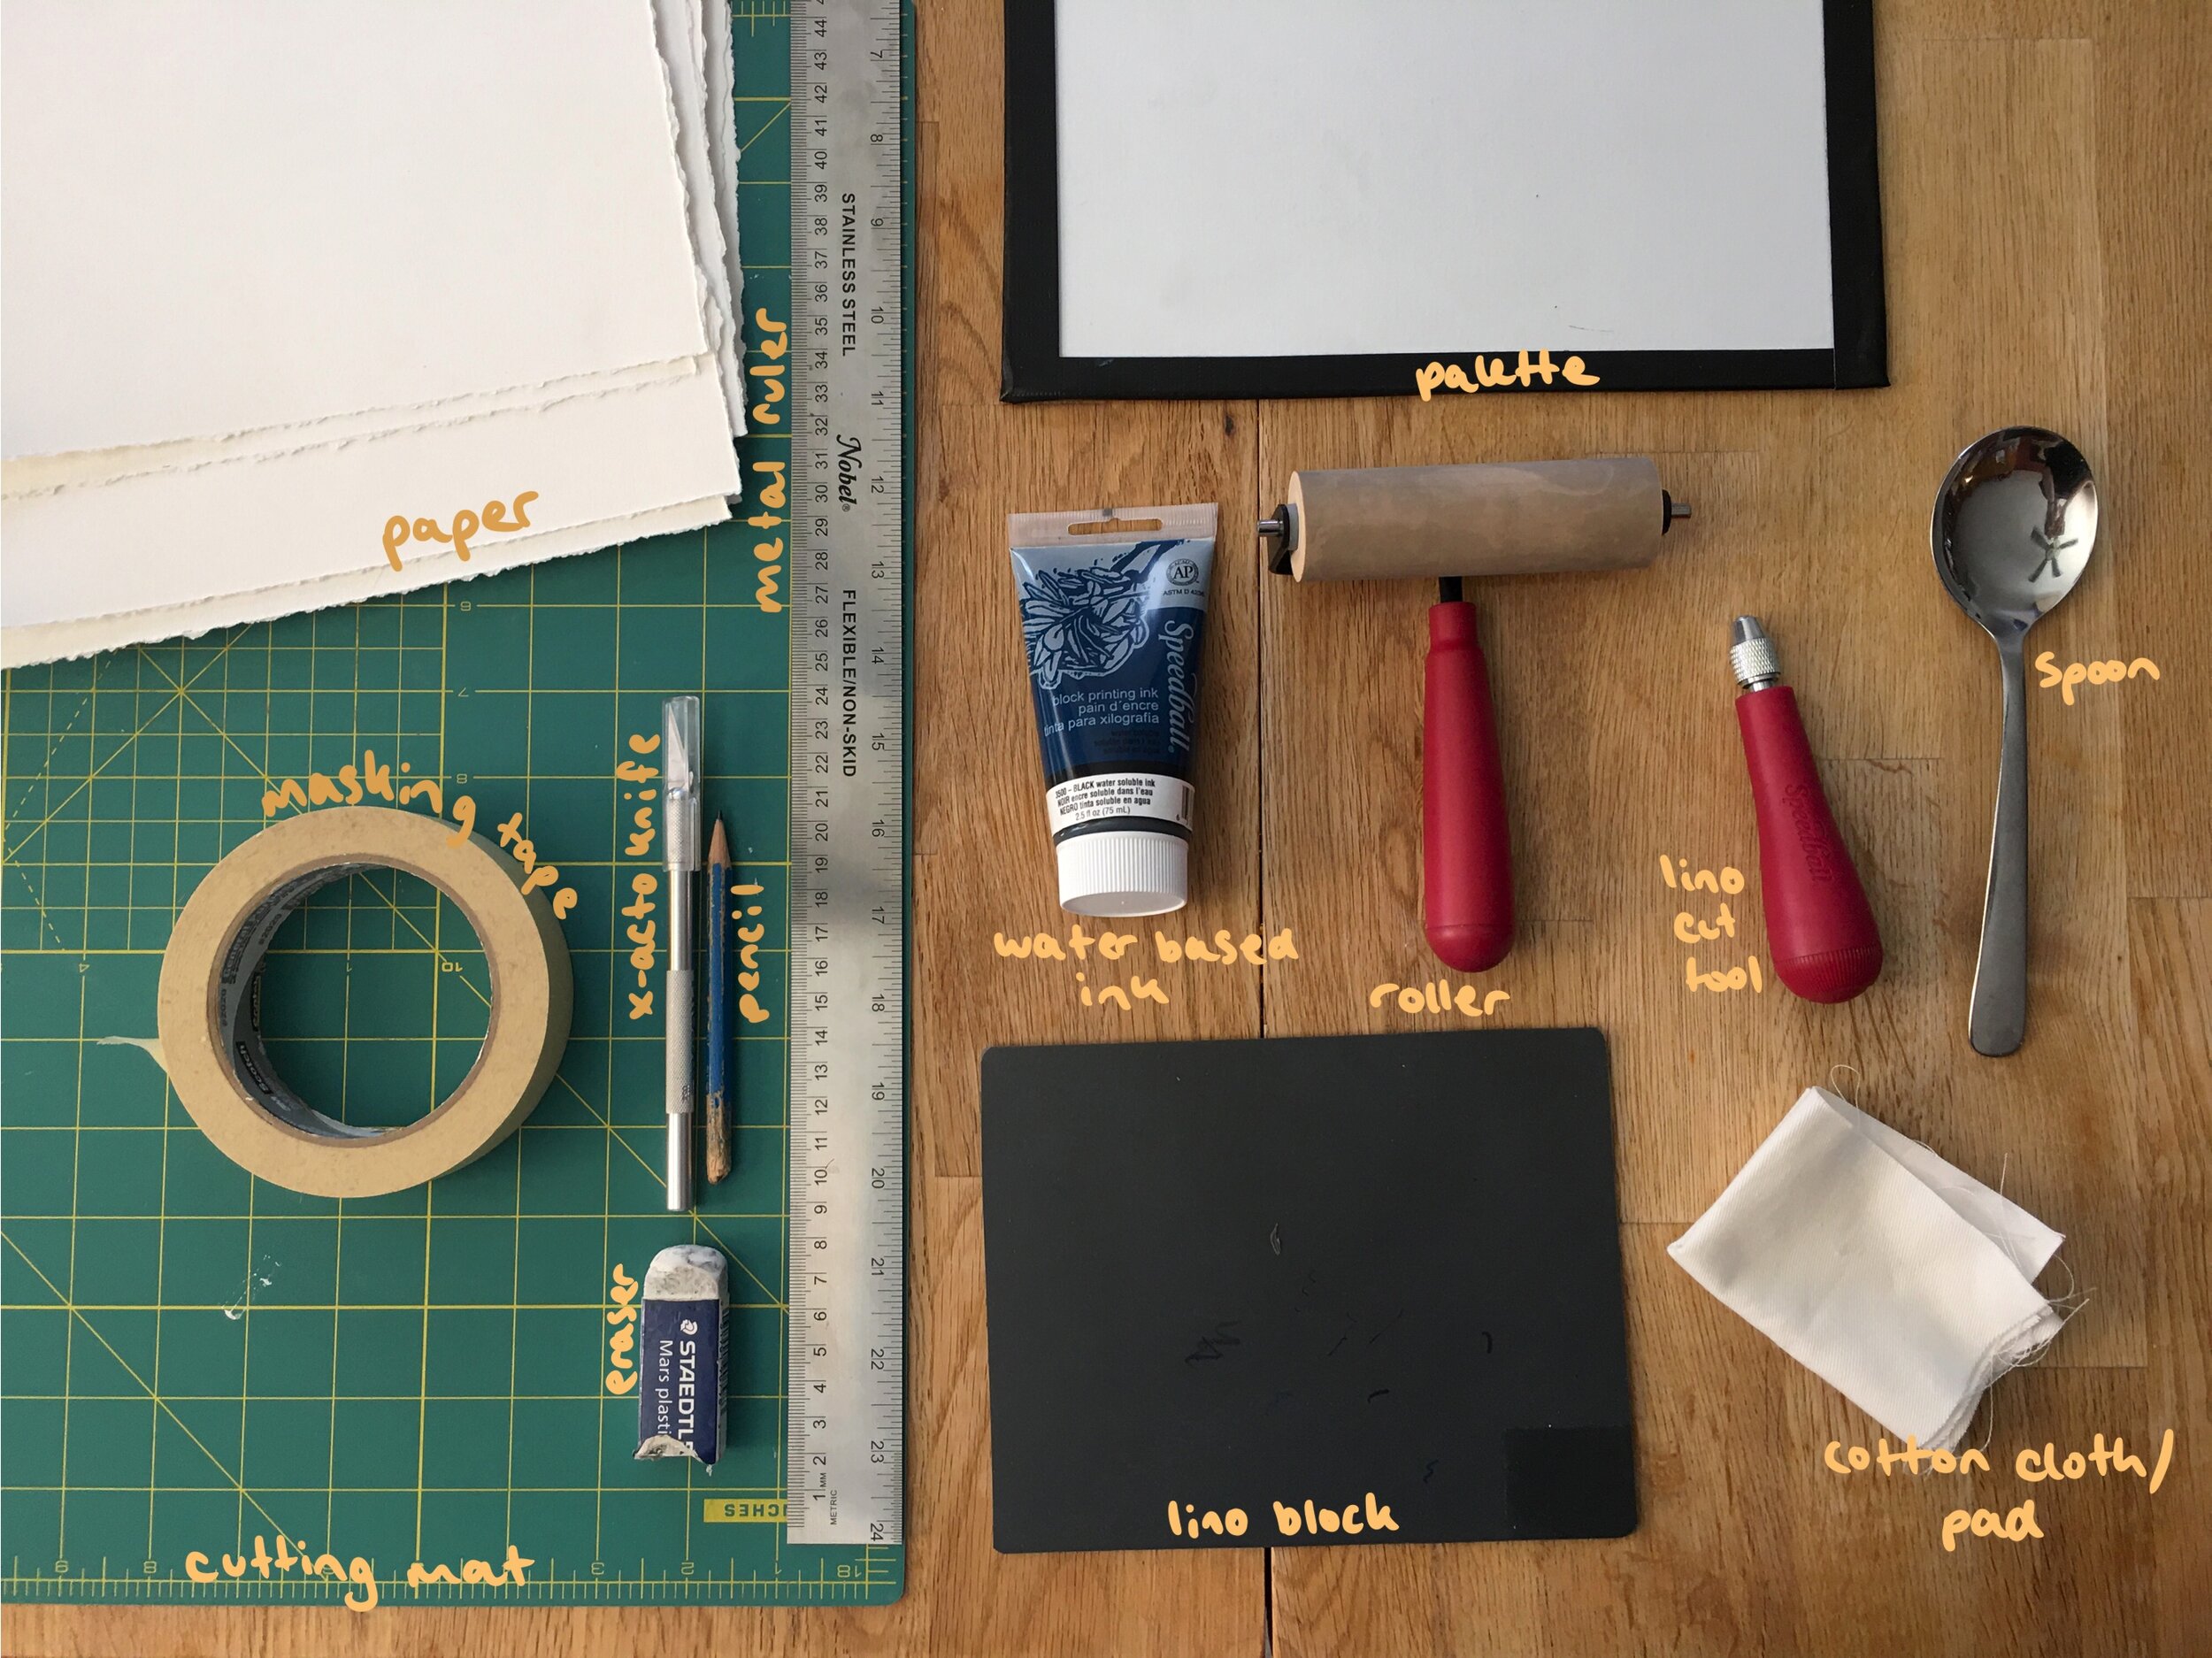
materials
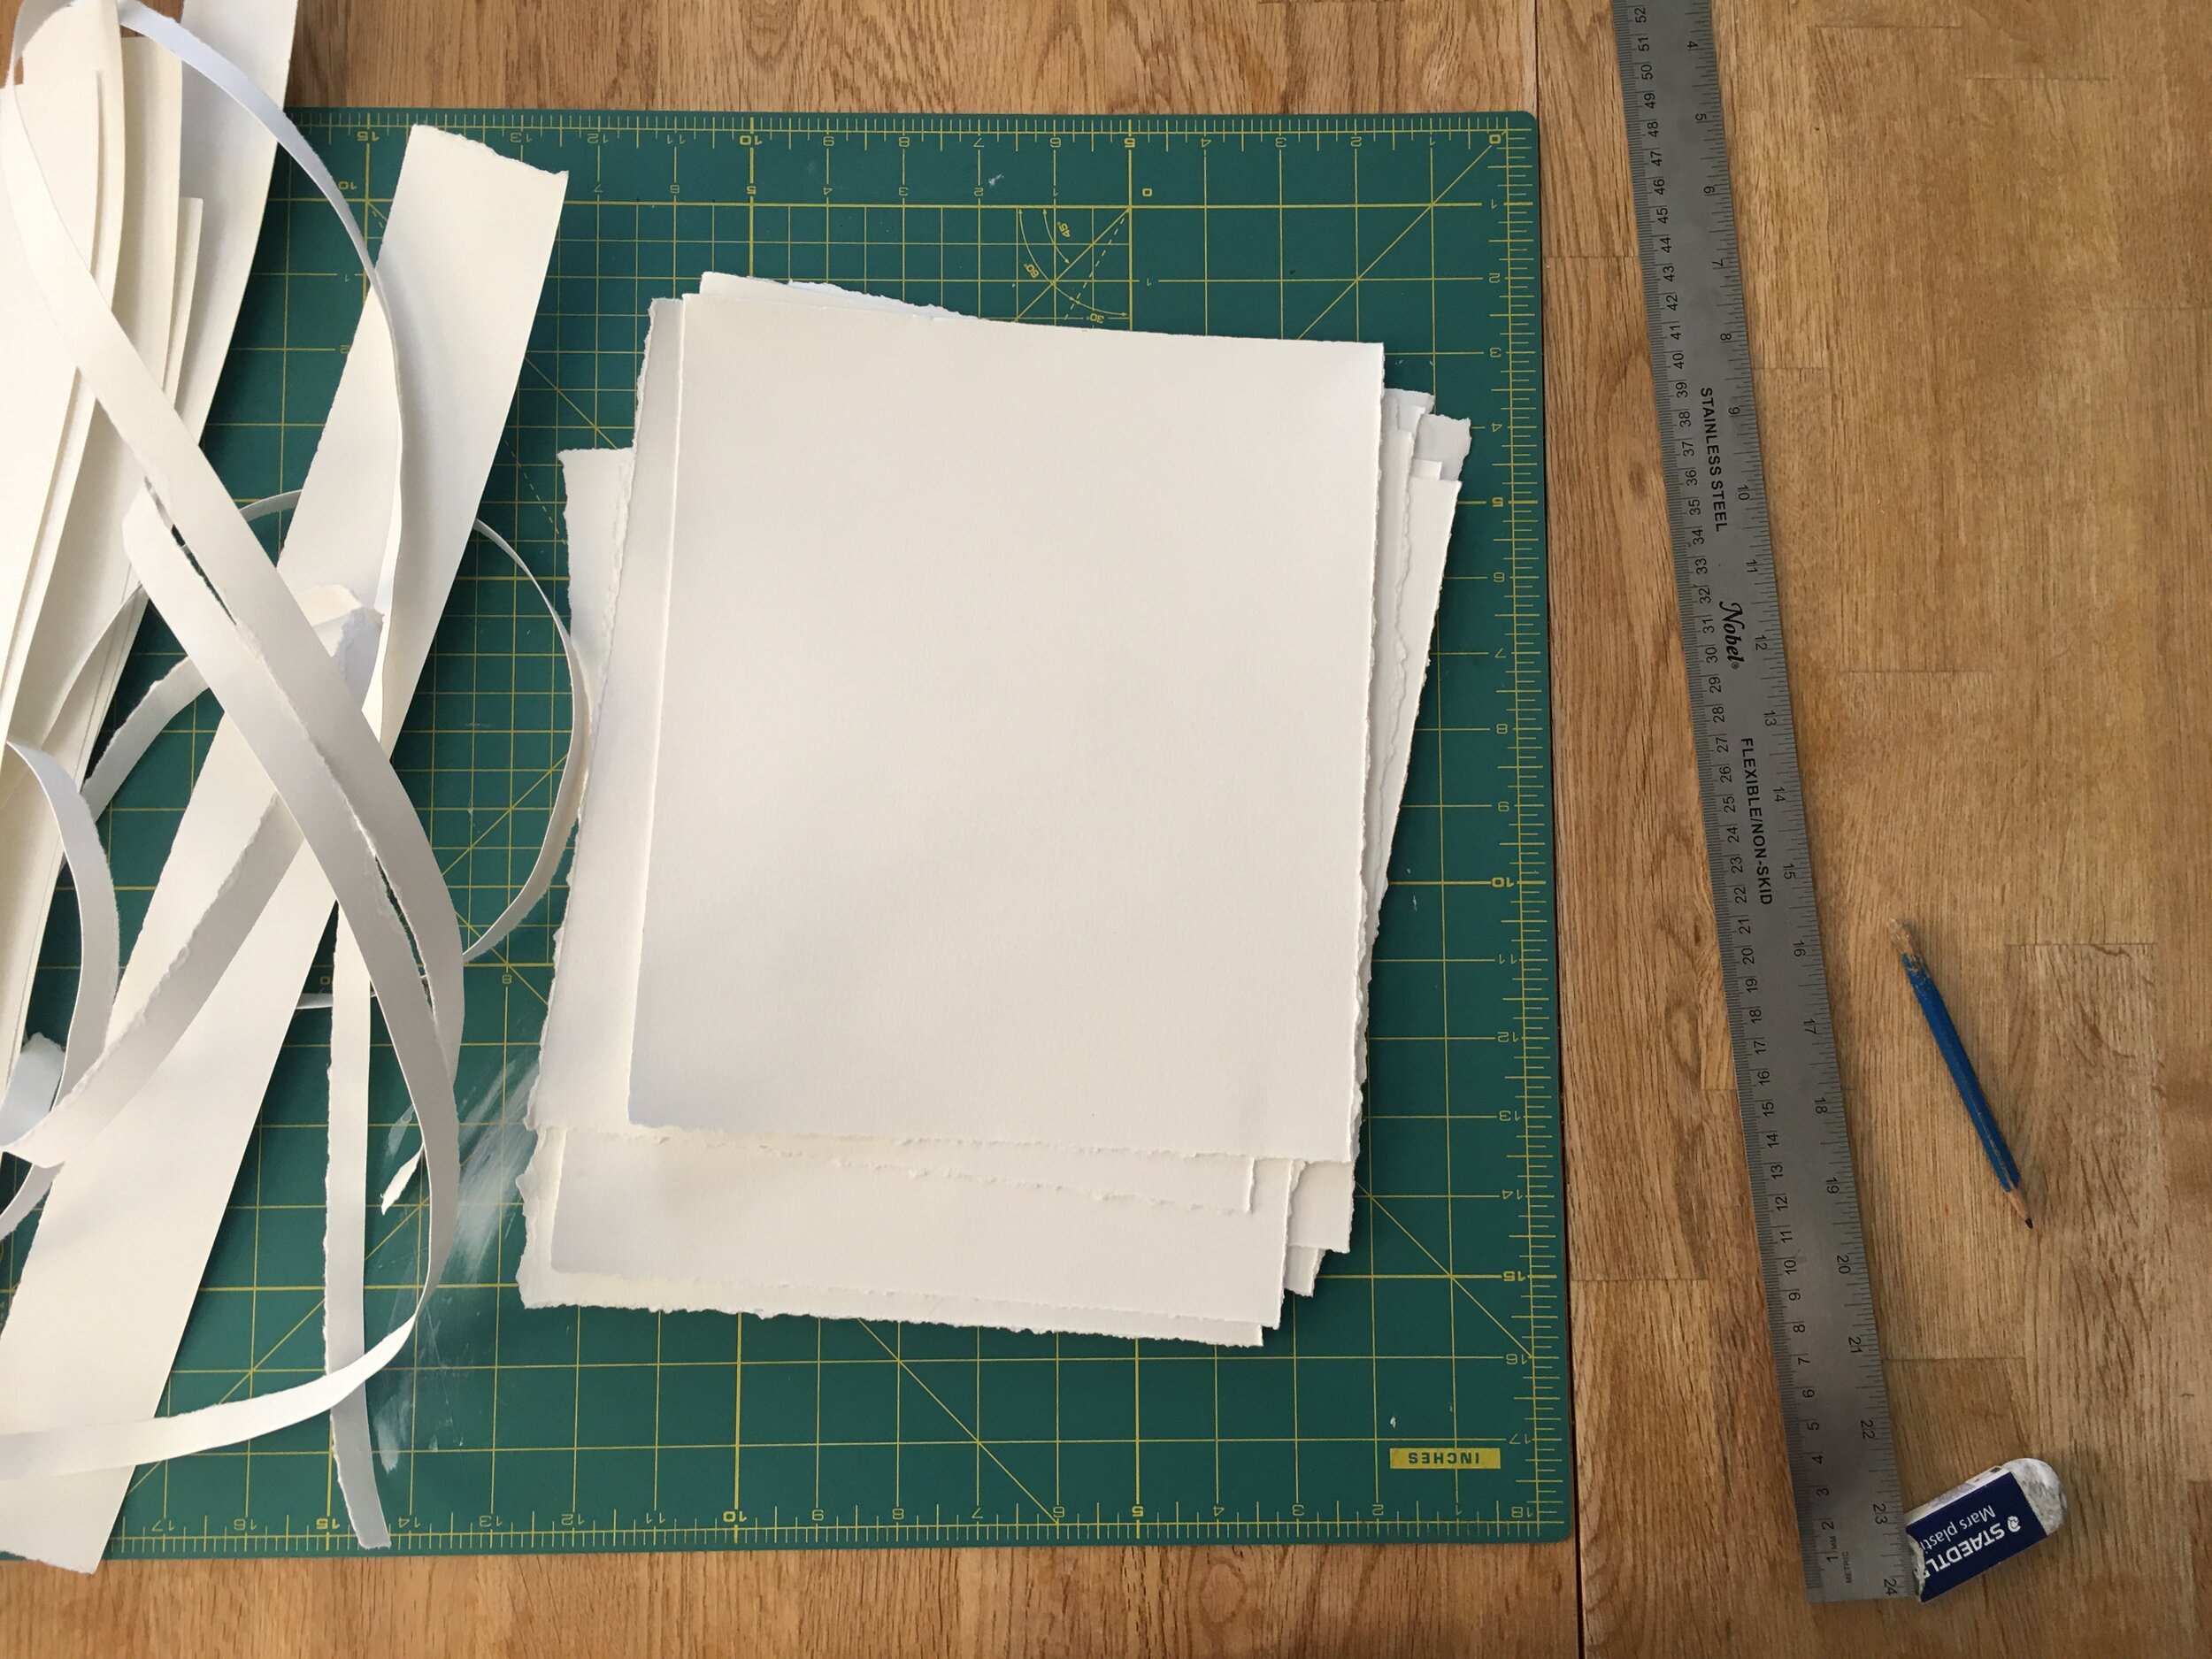
paper, i’m using coventry rag which is a thick printing paper, any good quality, thick, smooth and matte paper is good.
masking tape
x-acto knife
good old pencil and eraser
metal ruler with sharp edges
cutting mat or a surface to cut on
lino block
lino cutting tool (mine is speedball)
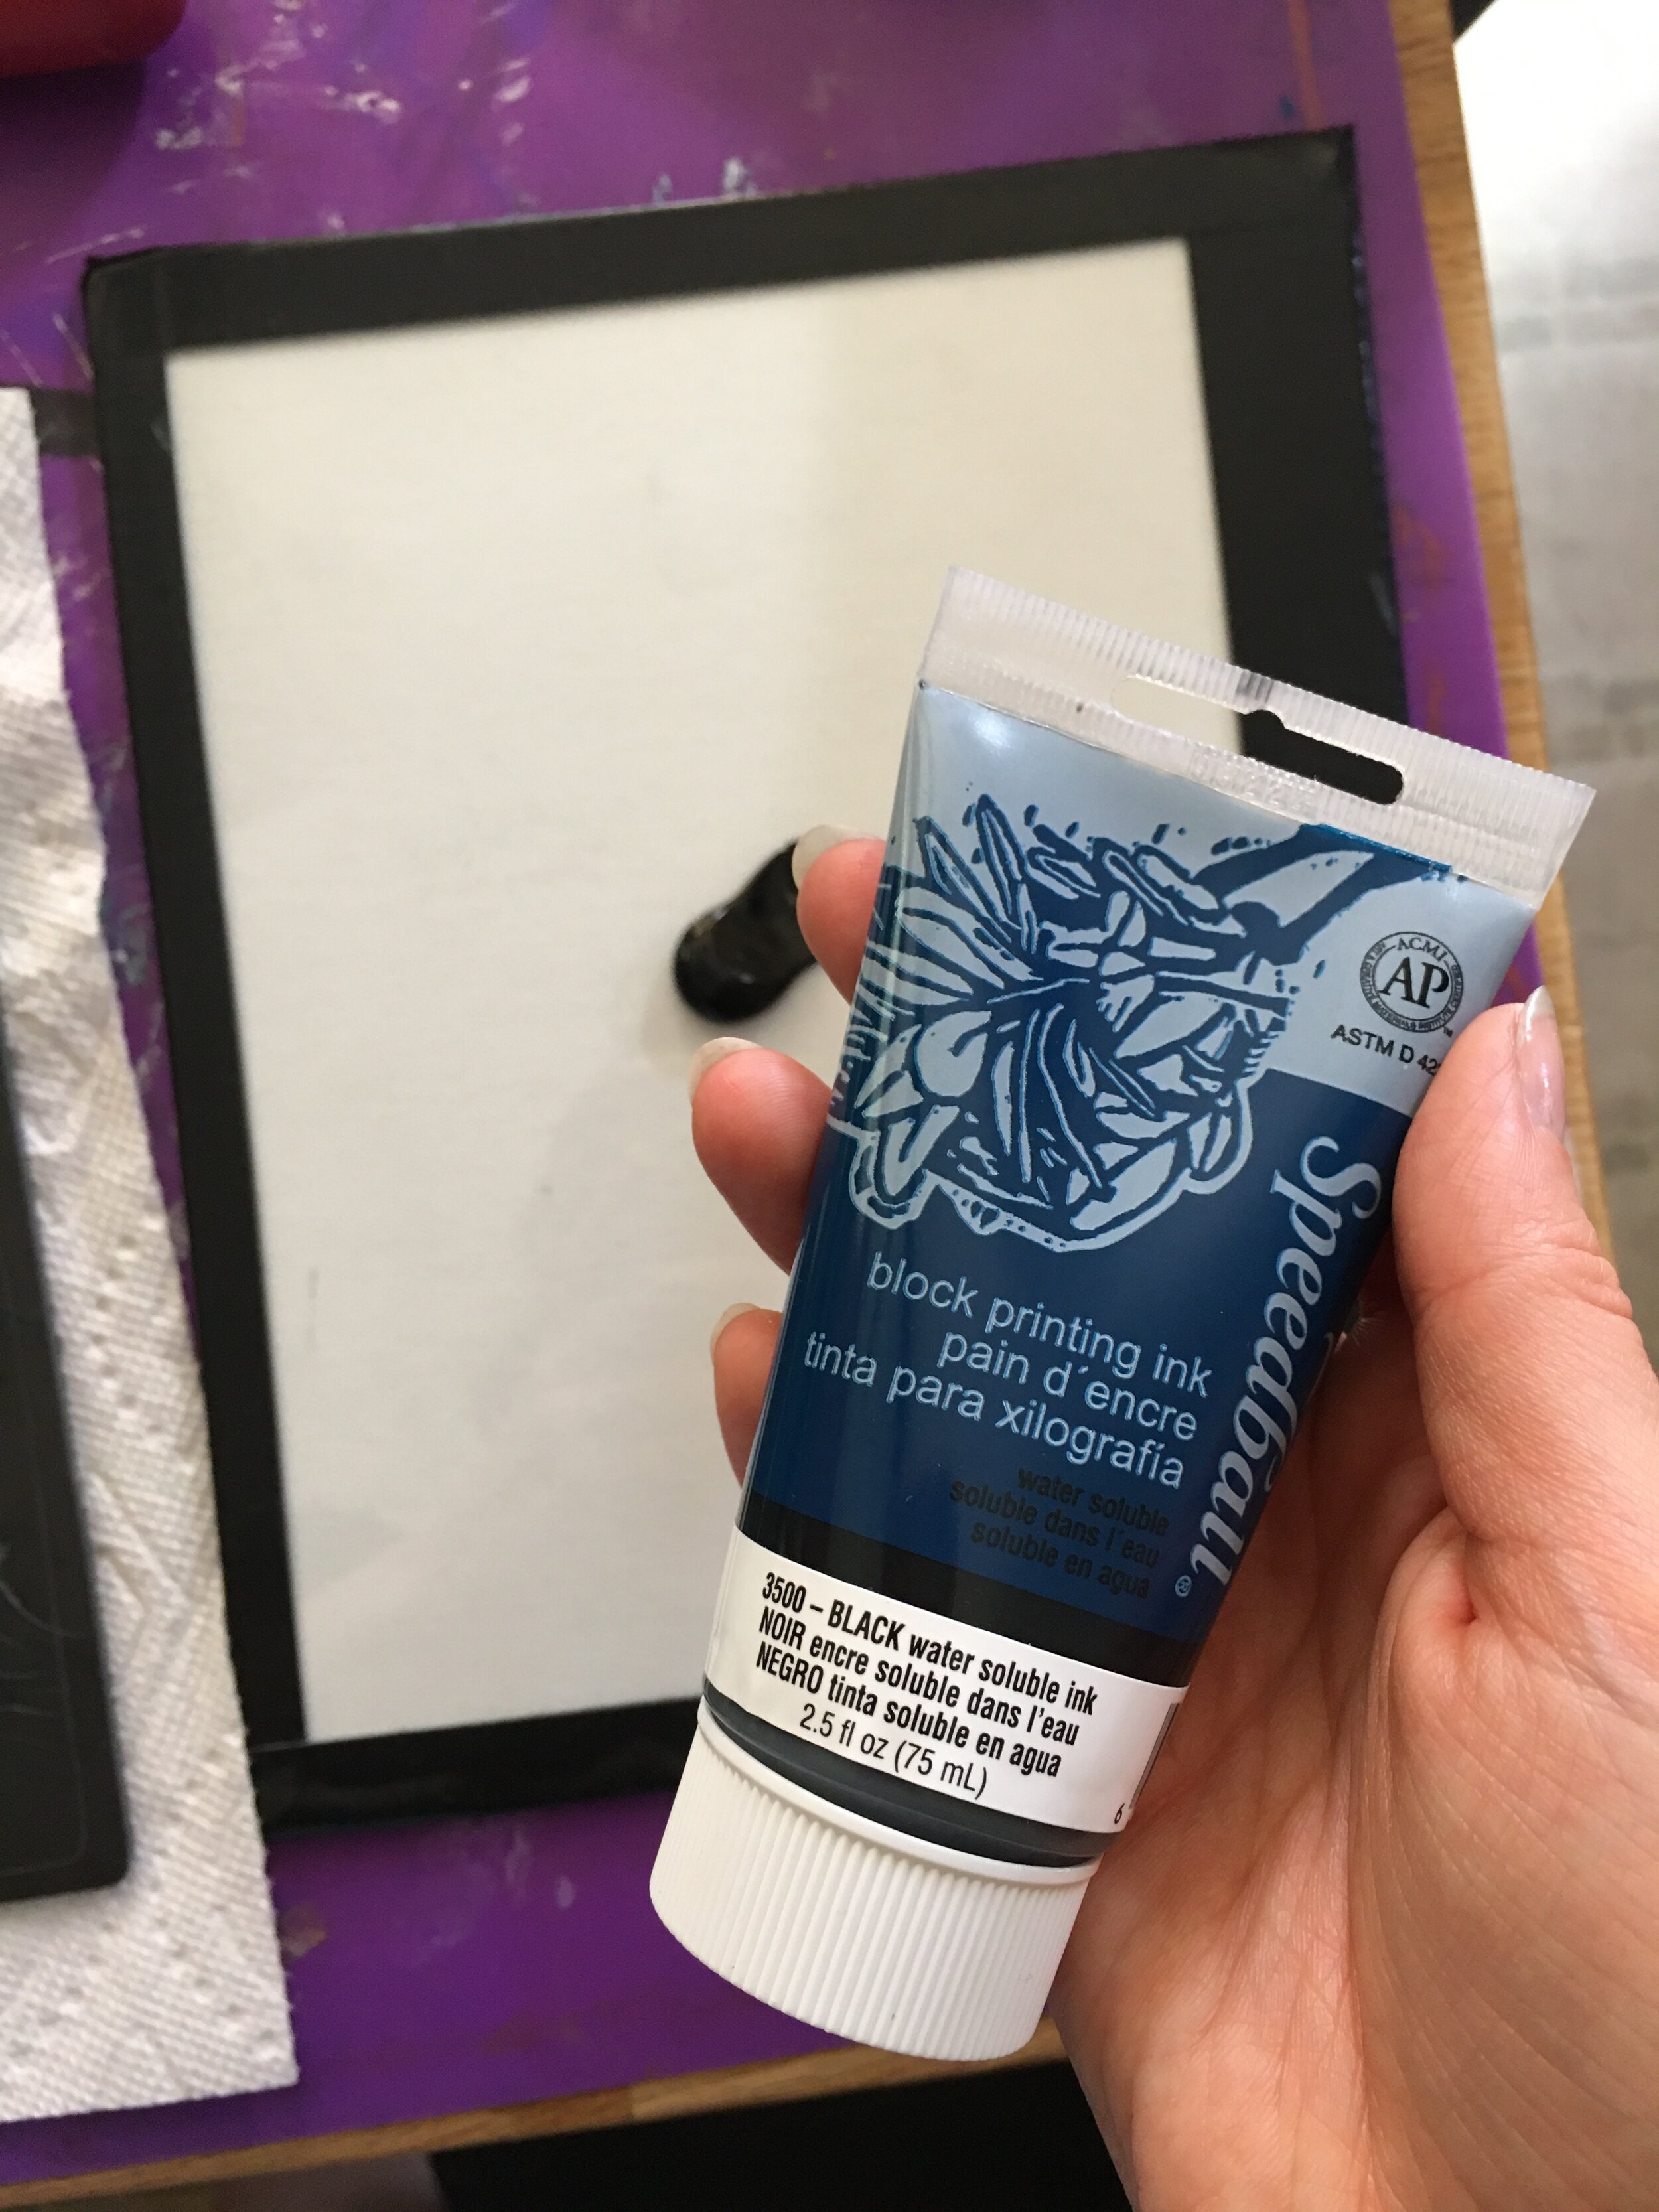
water based block printing ink (speedball)
a roller for printing (speedball)
palette, this can be any surface that is smooth and doesn’t absorb ink. Mine is a piece of
glass that i duct taped to matte board
a wooden or metal spoon
a cotton pad or piece of cloth
not pictured: newsprint for test prints
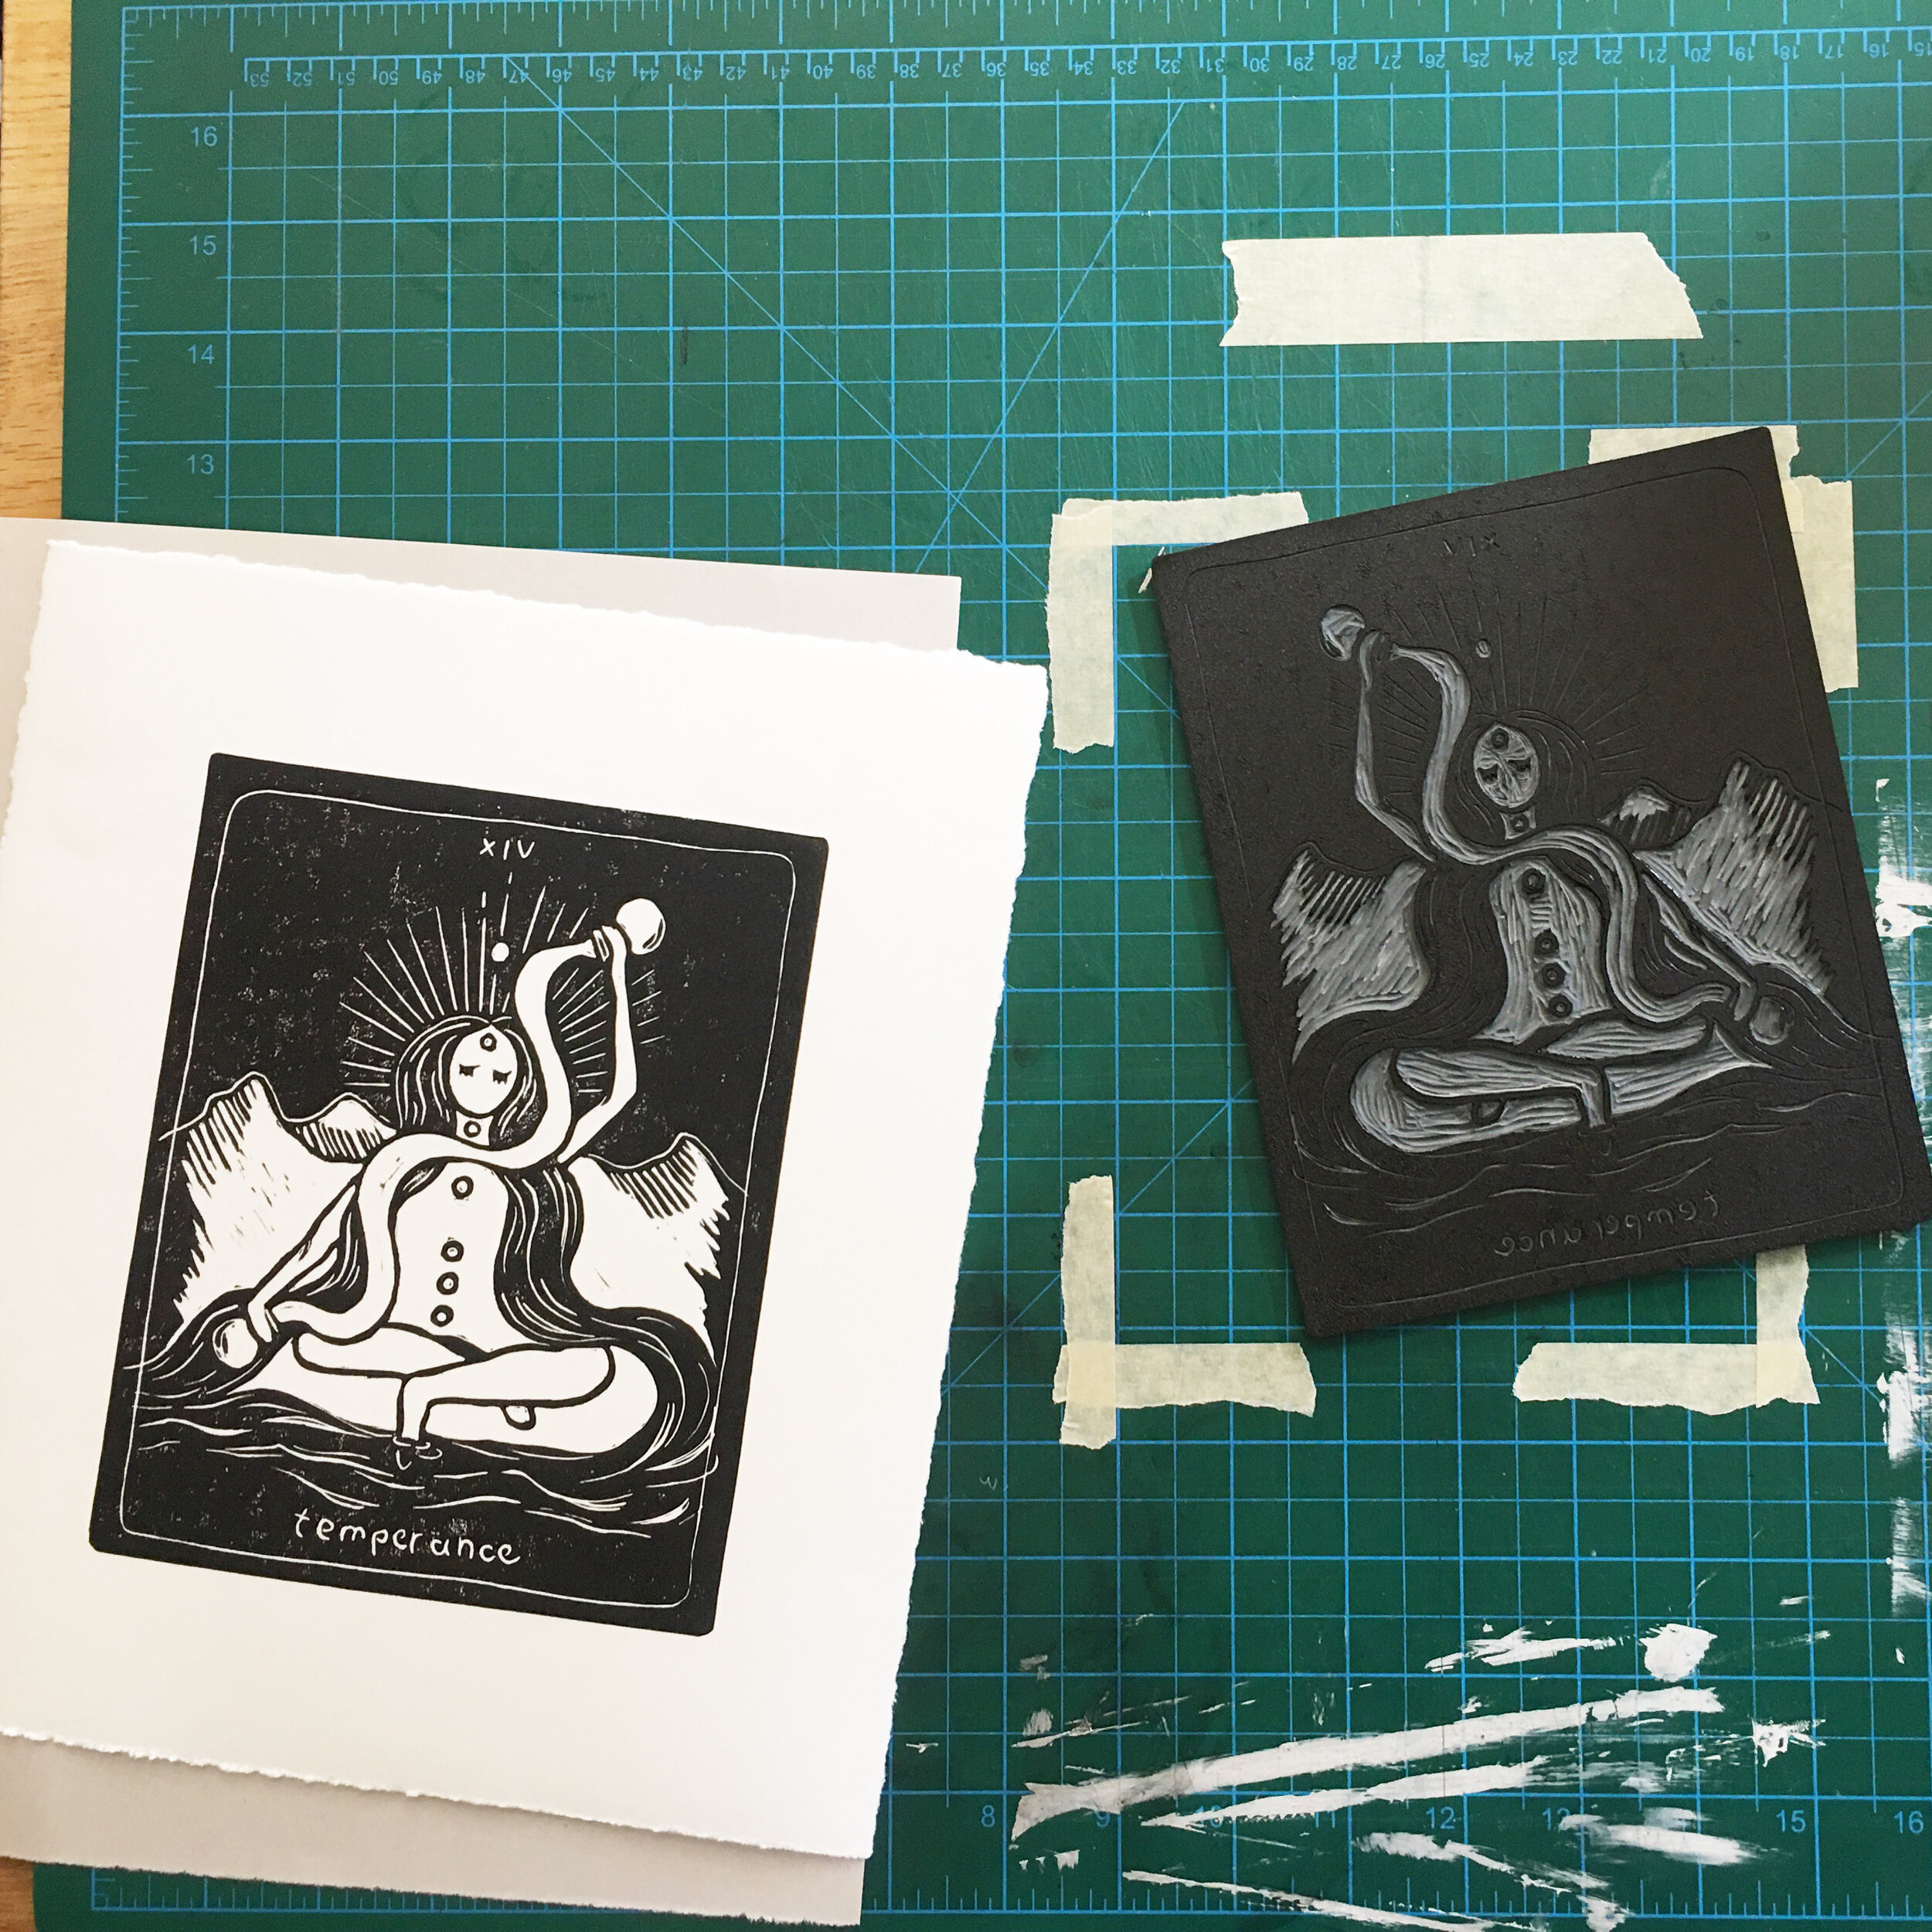
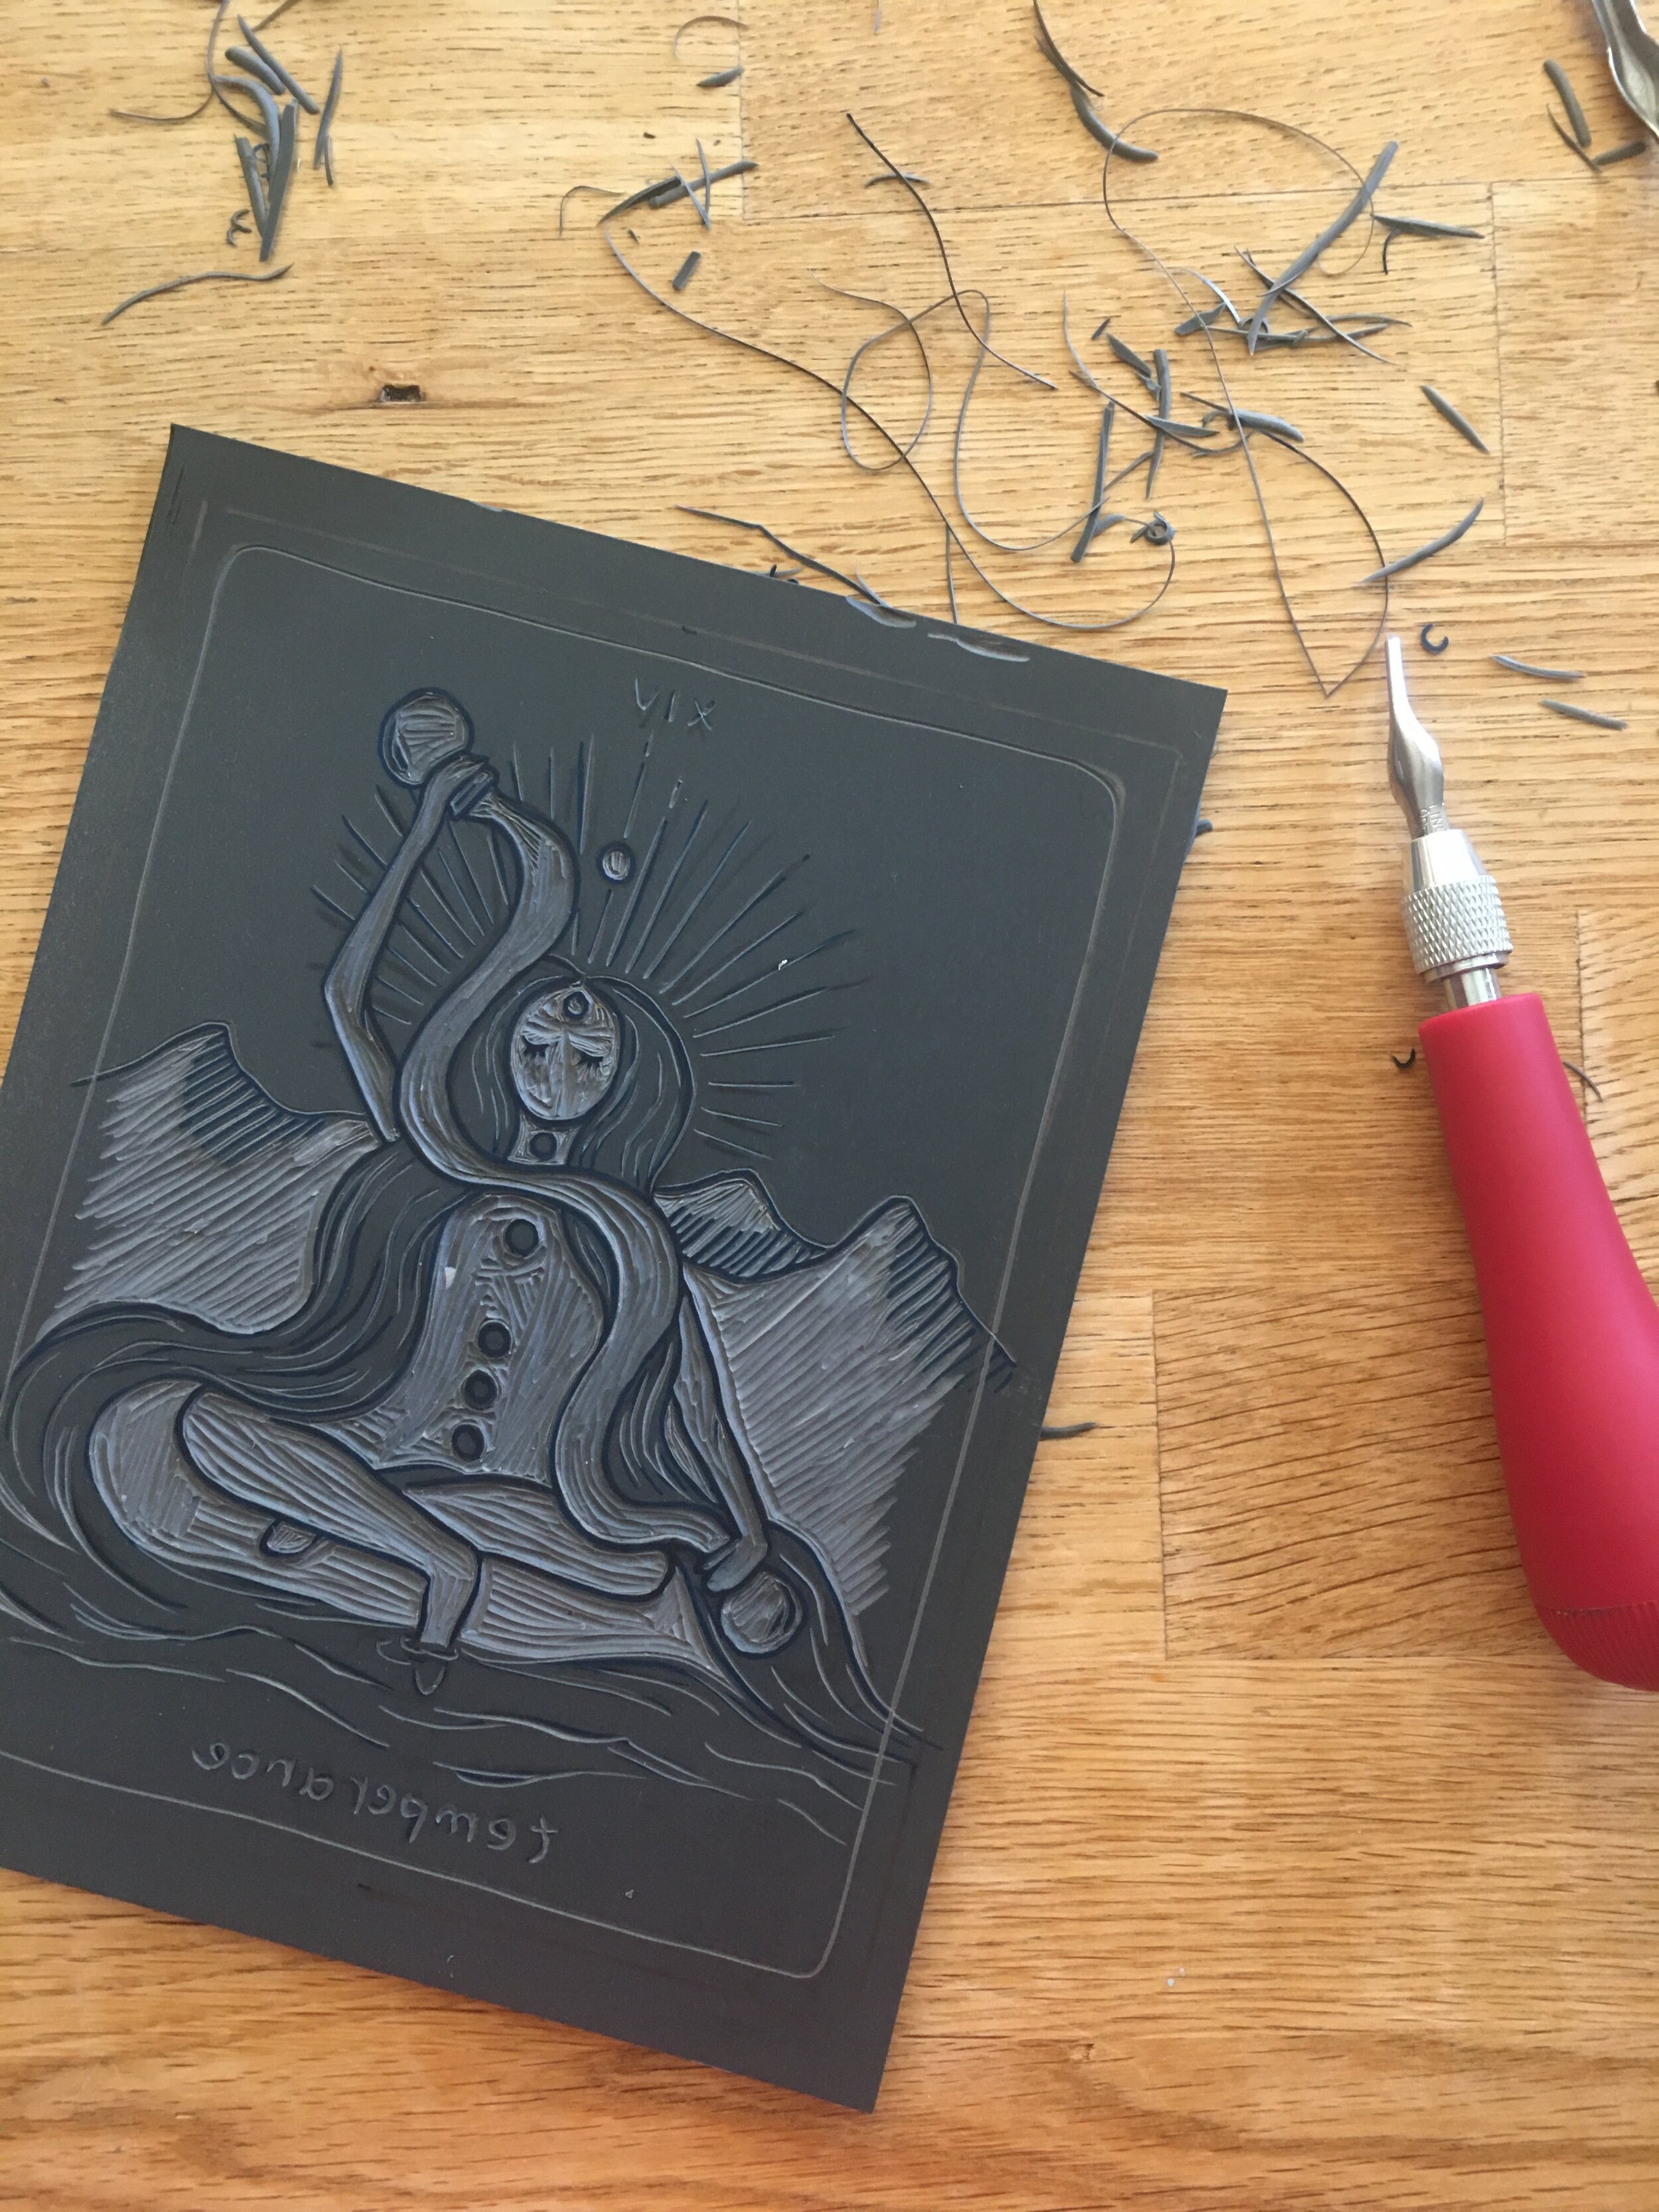
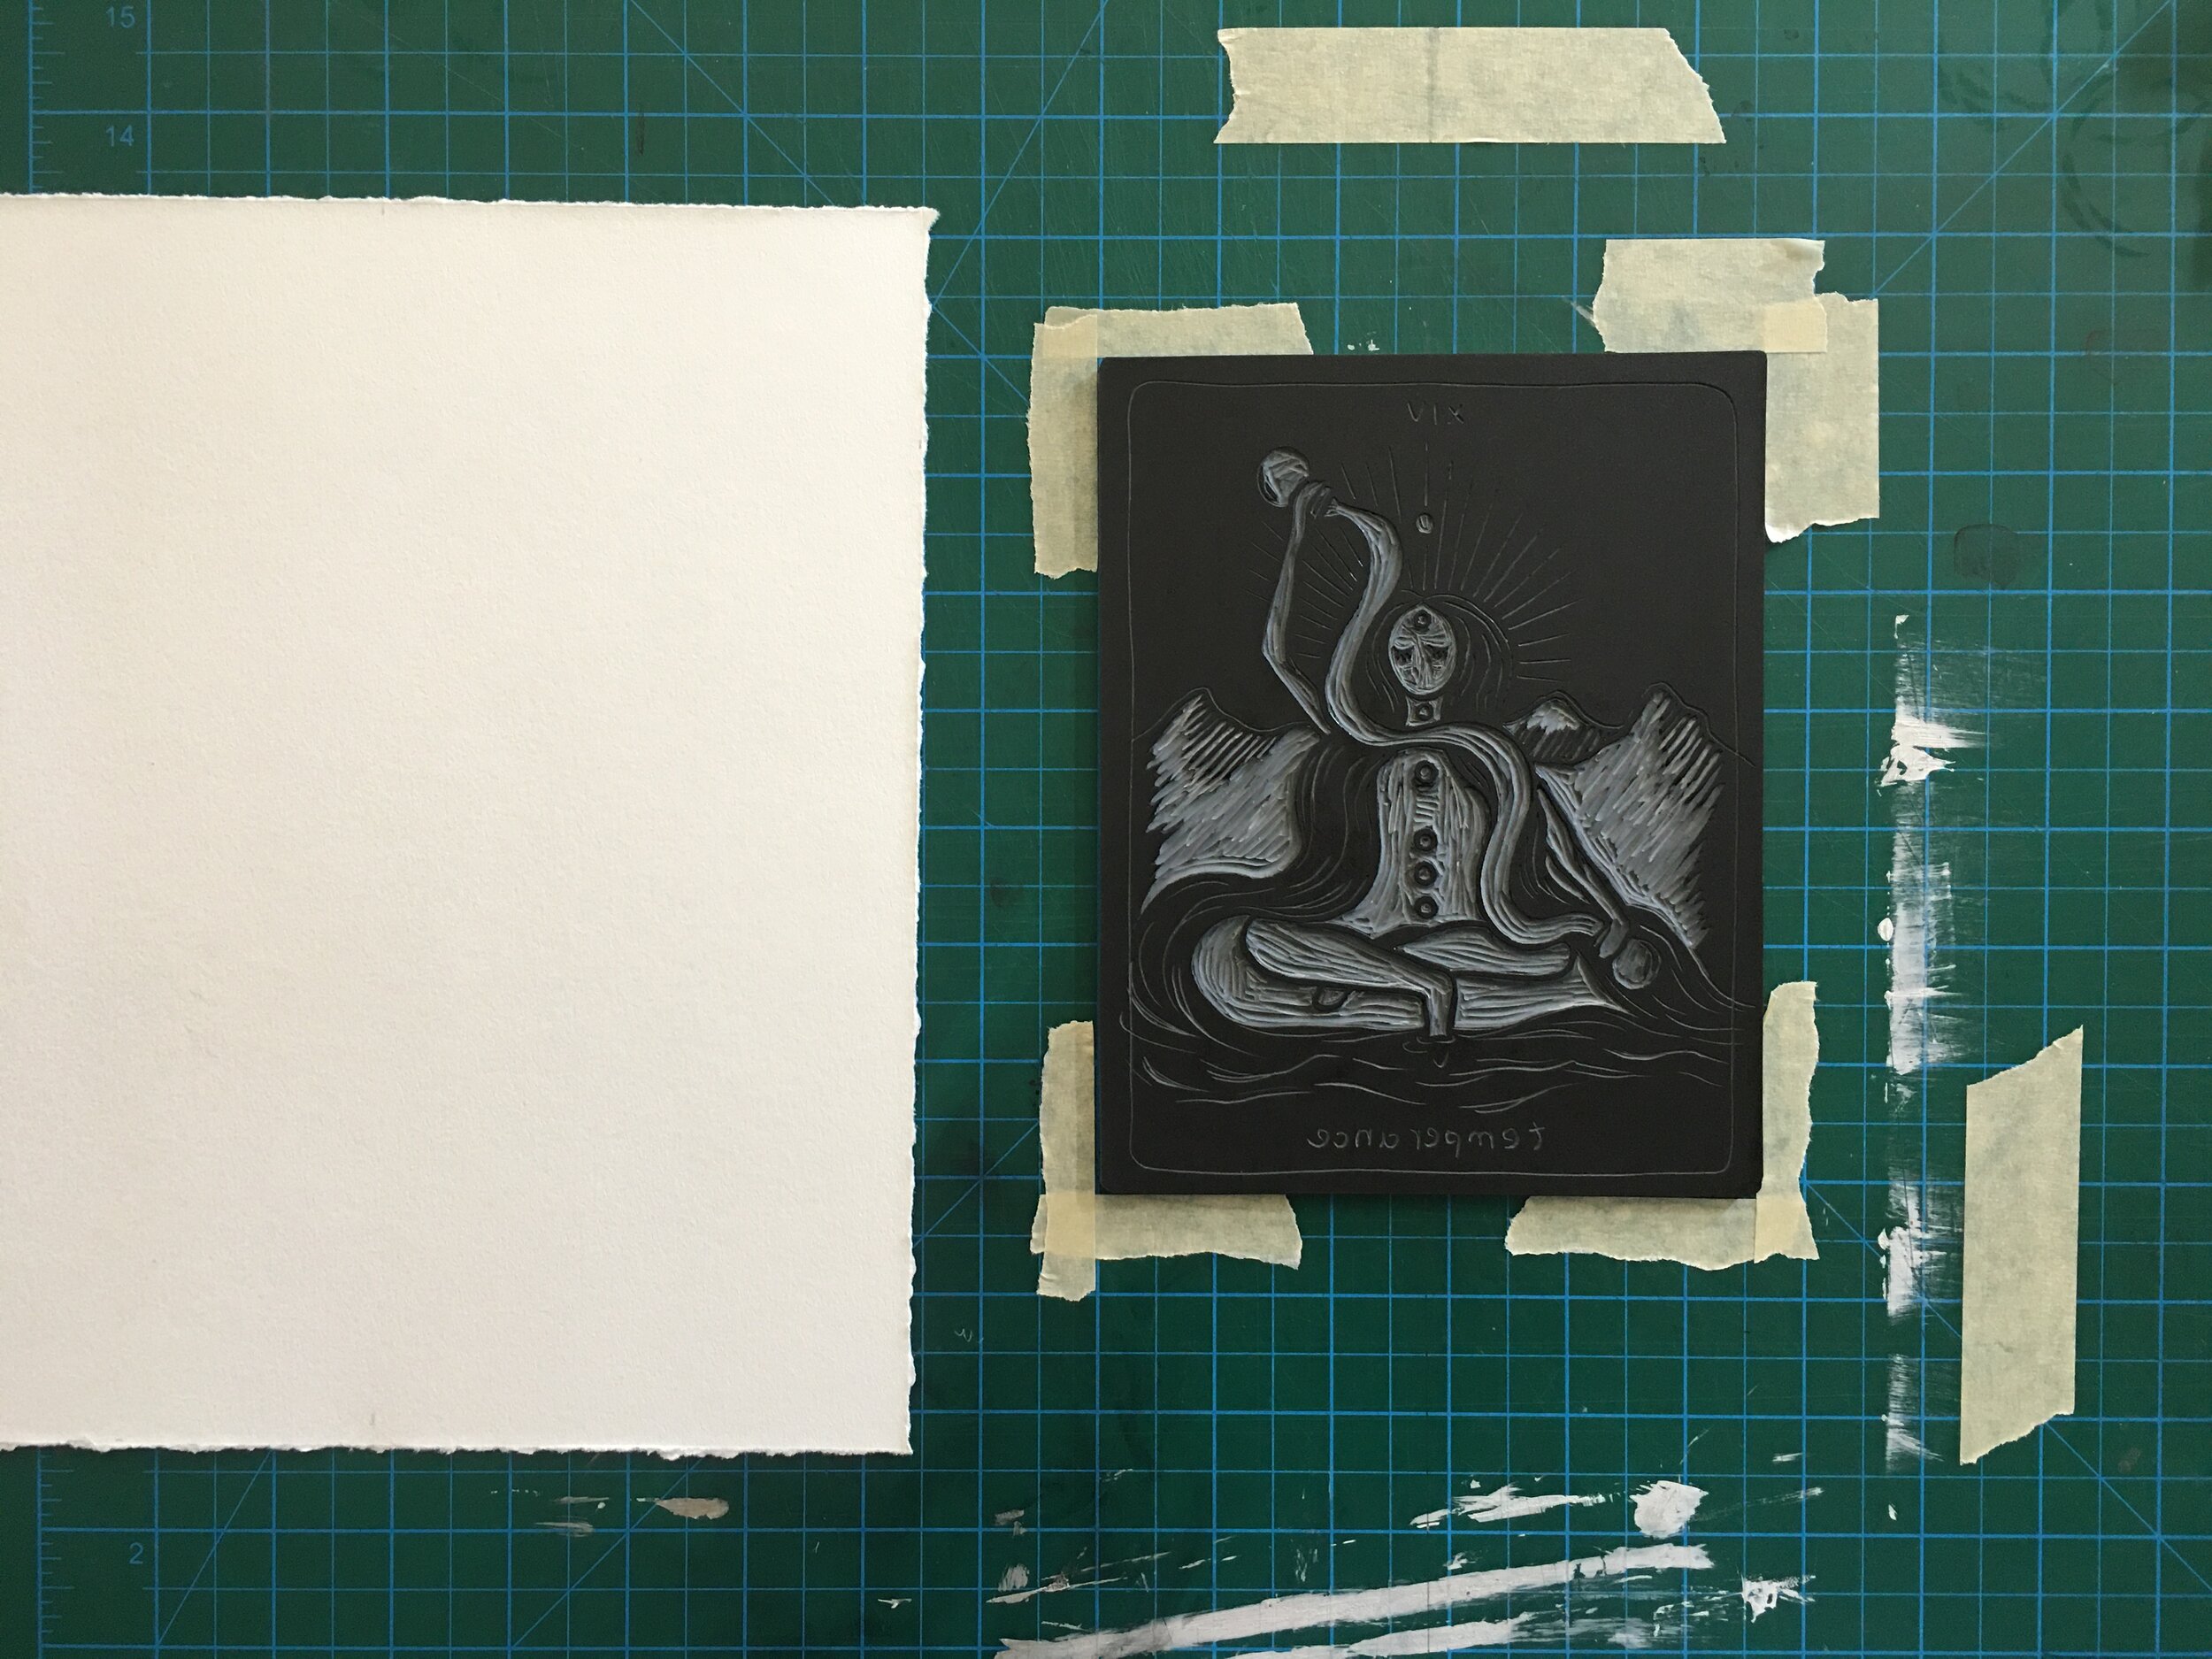
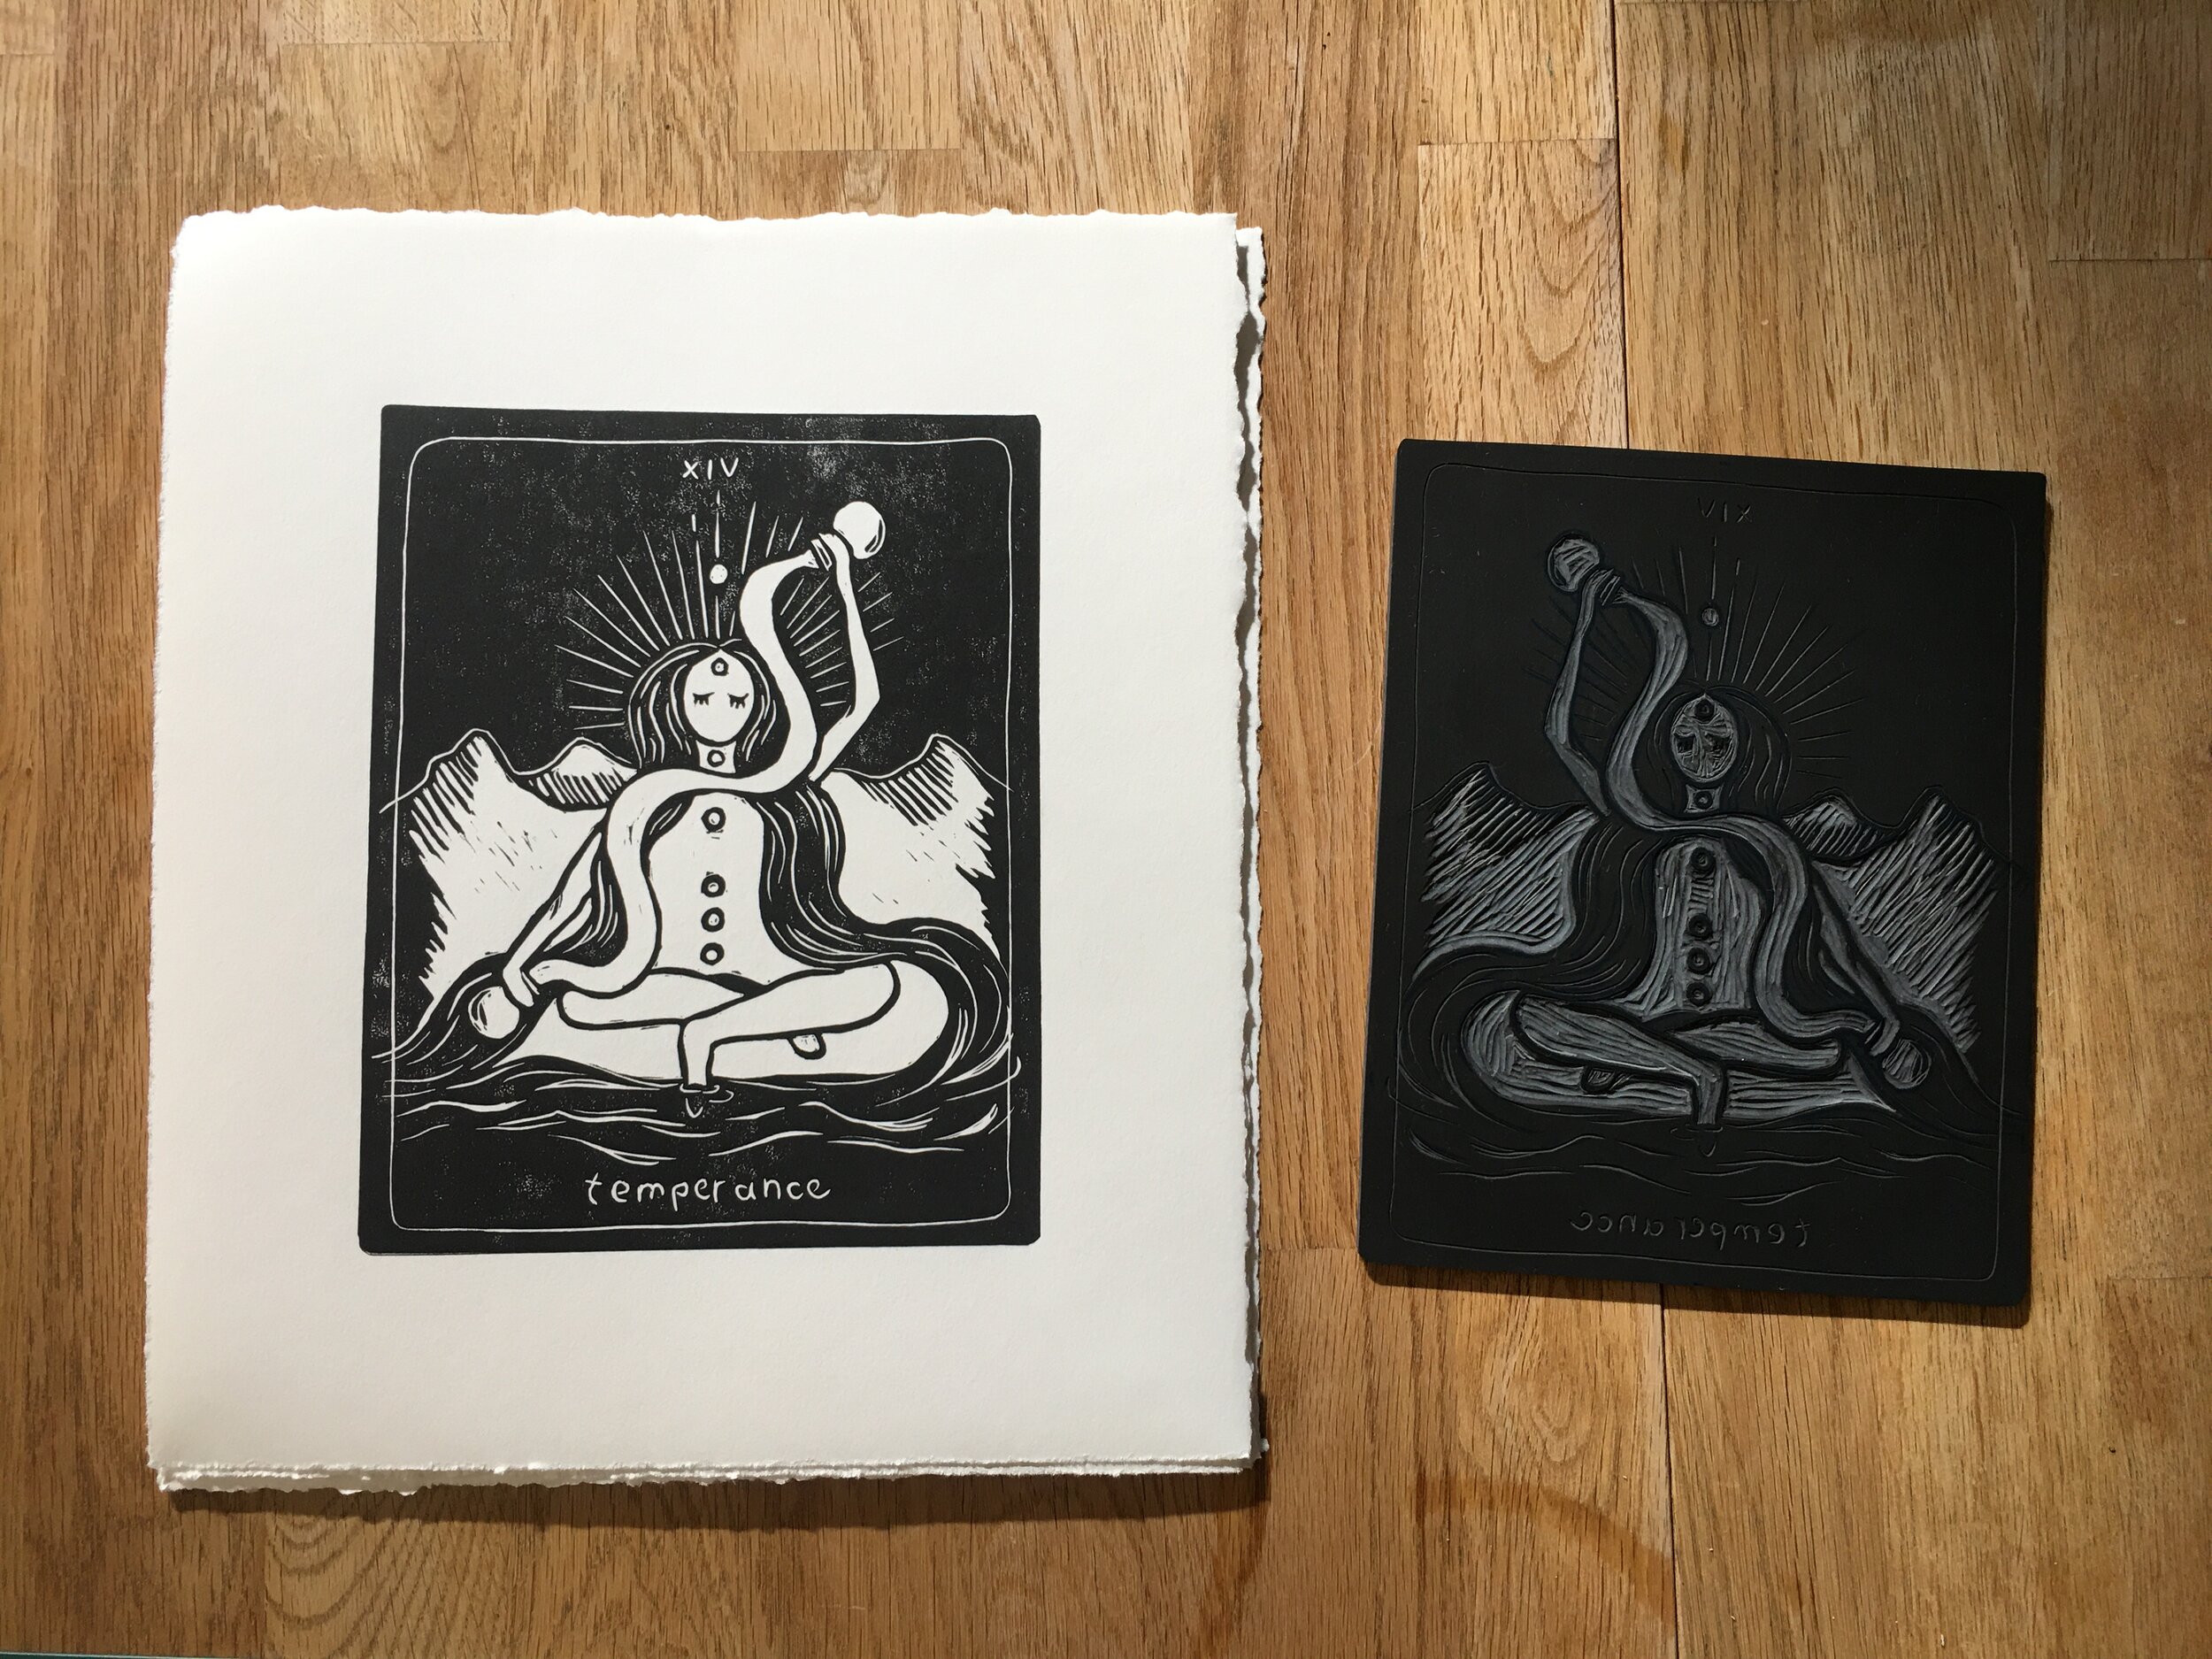
cutting your linoI cut my image from my lino a couple days before I did any printing. Remember when transfering your image to the lino that your image will be reversed when you print it. If you have a drawing that you already want to print, there are lots of ways to transfer it to your block with things like carbon paper. I took the easy route and ended up just drawing it again straight on my lino block with a soft pencil and then out lined the lines in sharpie. Then I spent most of an afternoon cutting around the lines I drew. It’s pretty obvious once you print but remember that what you are cutting away from the block is what will NOT print (it will be white). This becomes really simple but at first it took me a while to wrap my head around.
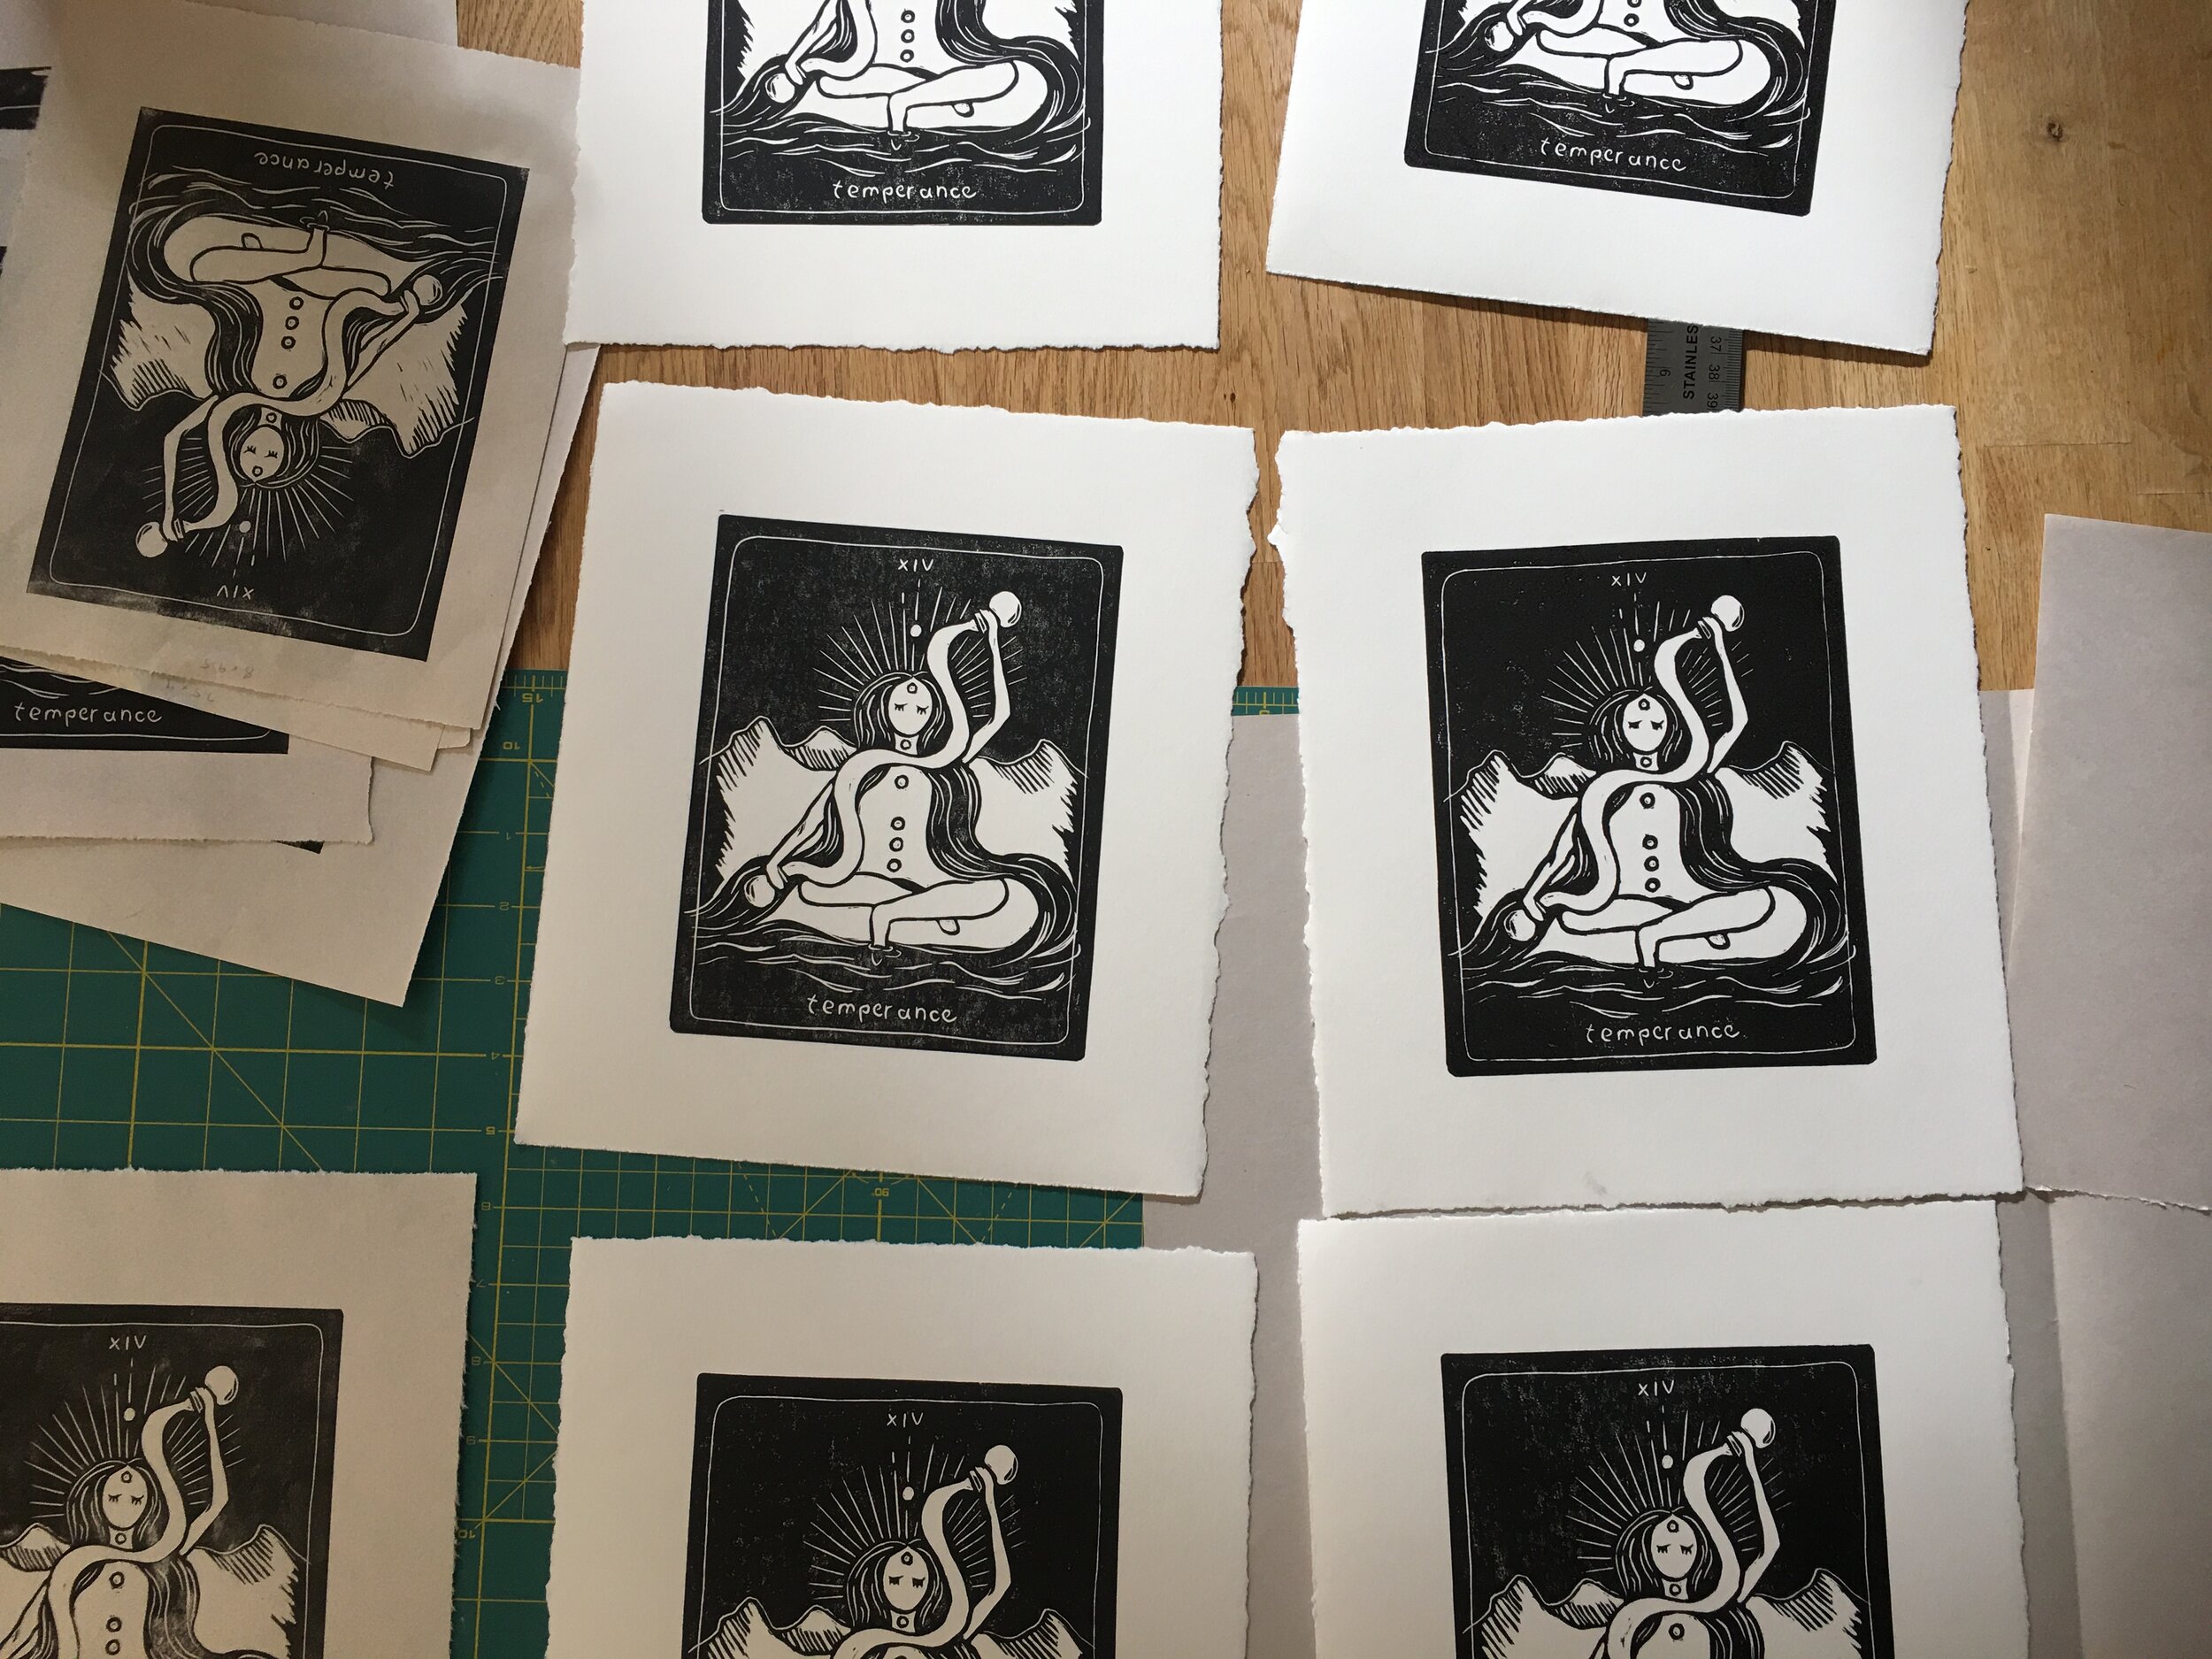
Even after I cut away the initial image, after printing my first test print, I had to go back and cut away more of the block to make the image appear how I wanted it to. You can do test prints while you’re cutting your block as well to make the whole process more fluid.
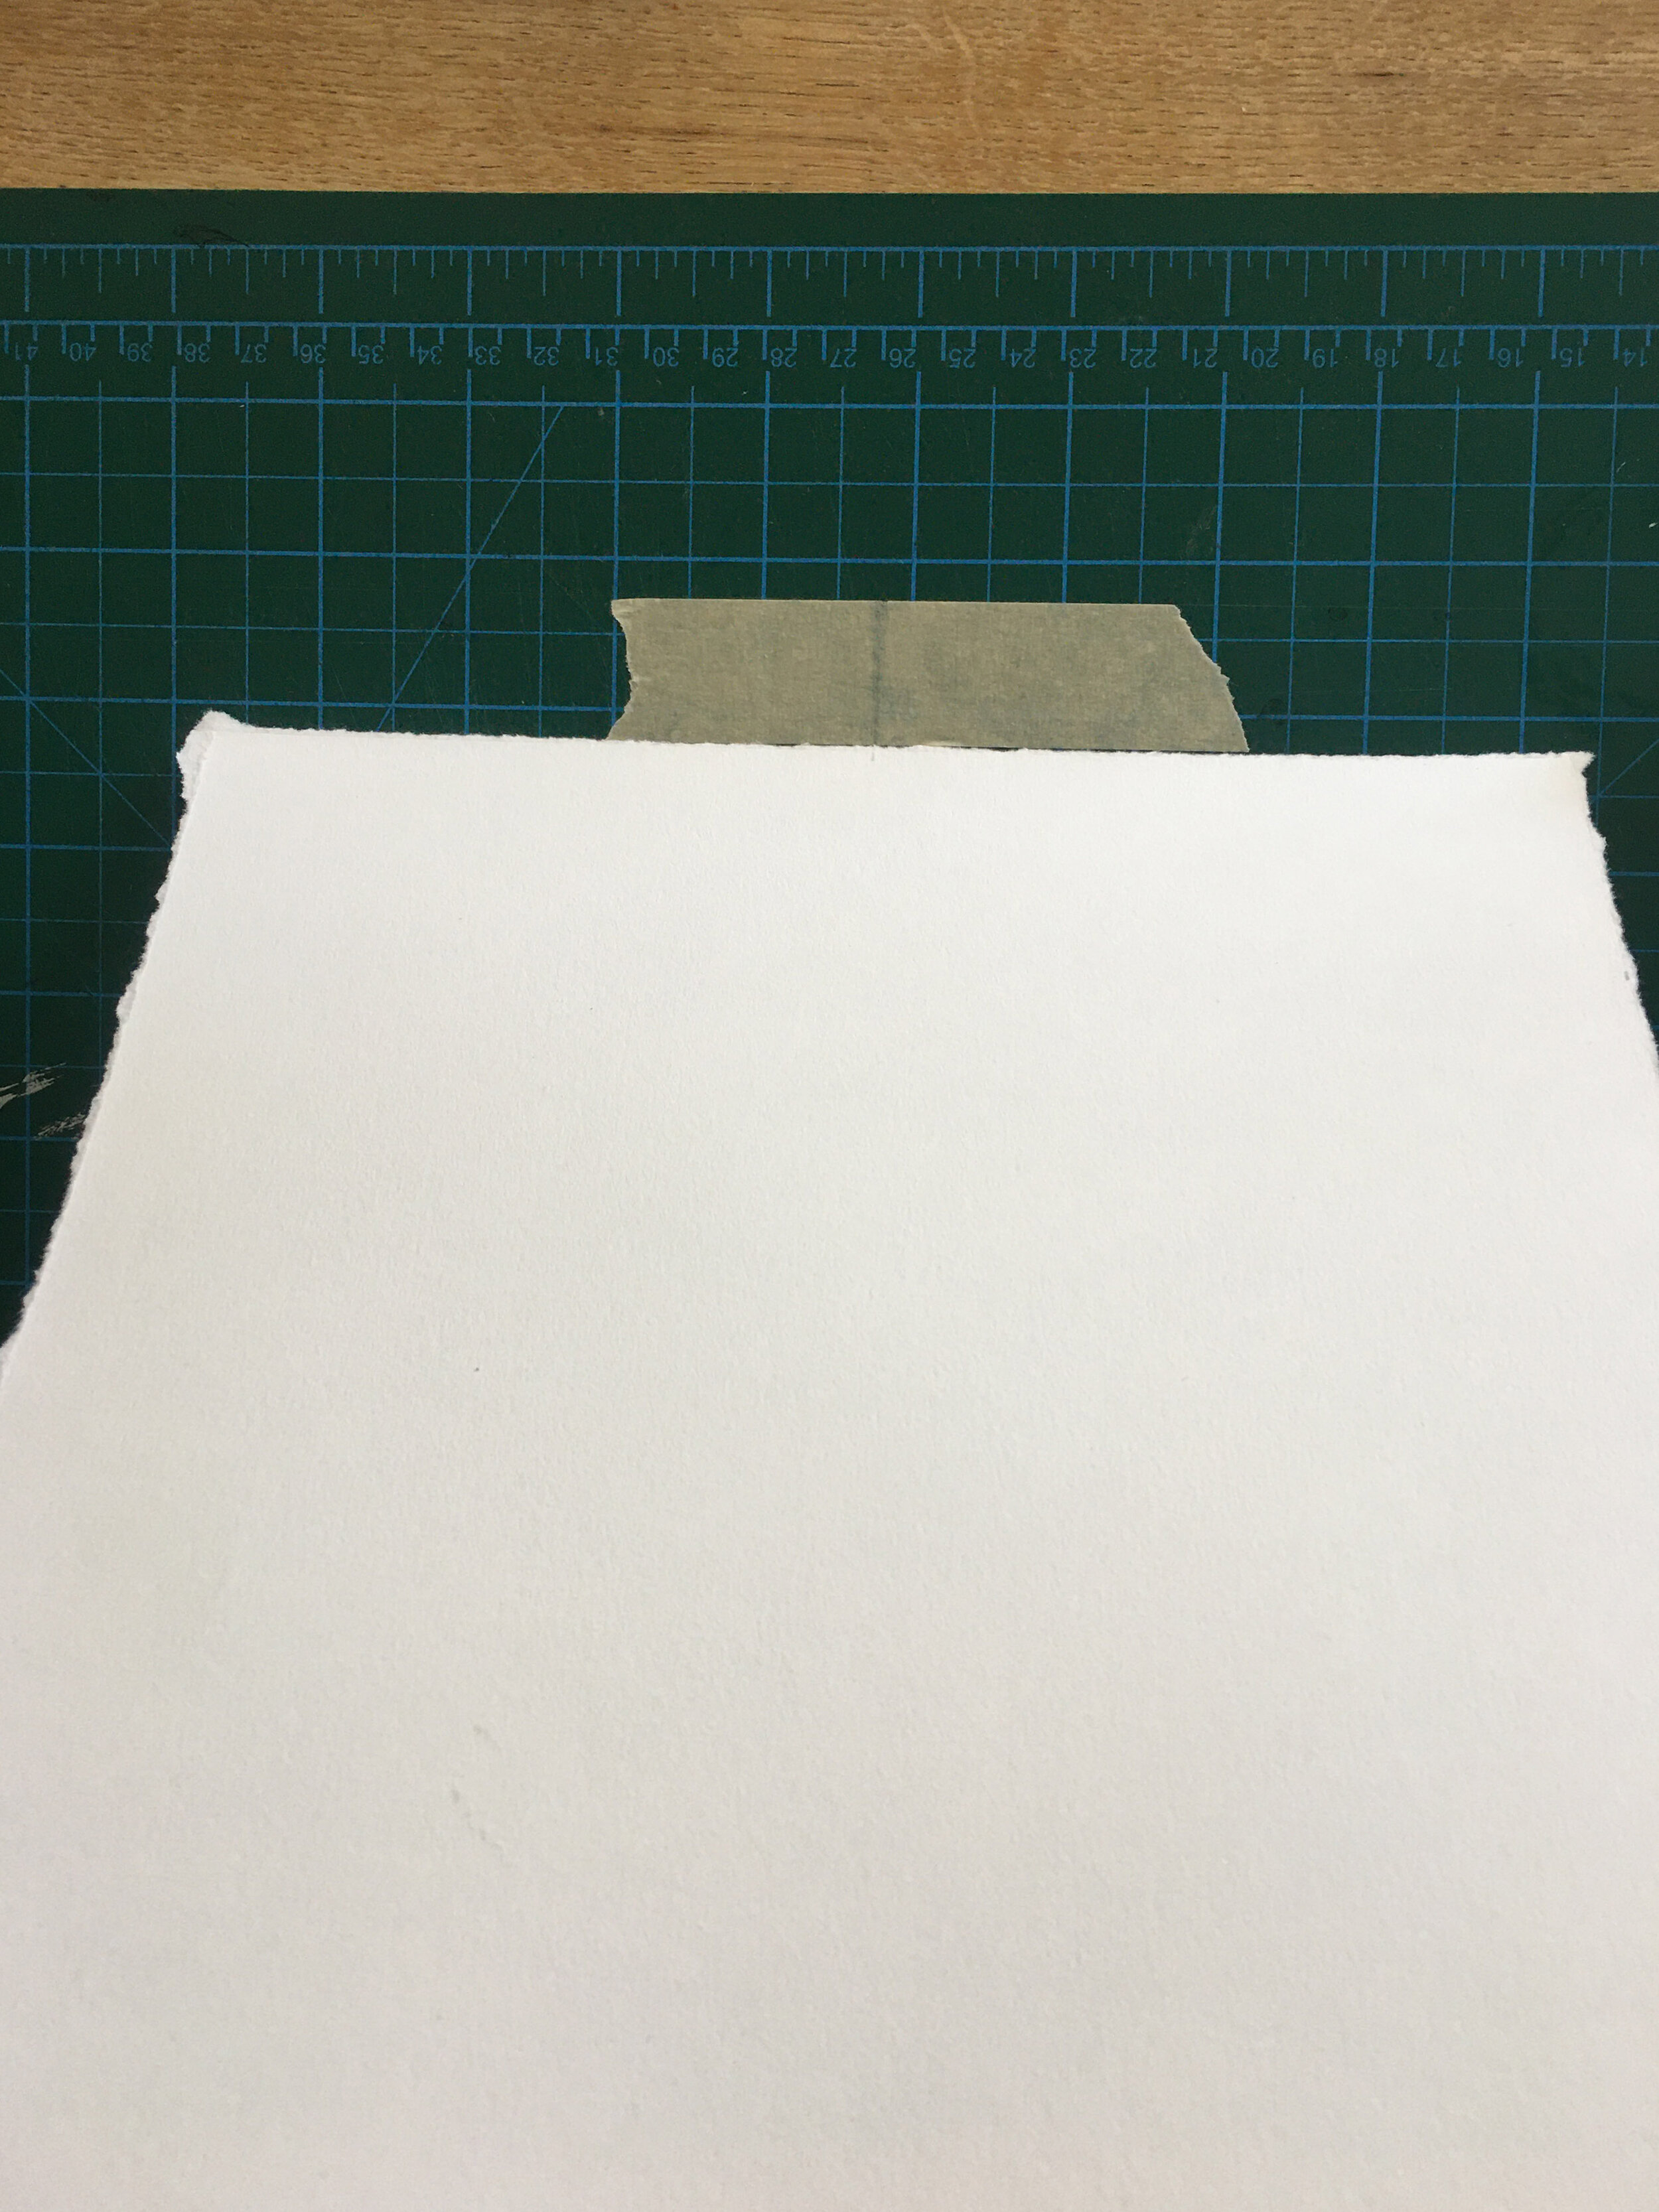
paper prepOnce your block is all ready to print on nice paper and you’ve done a couple test prints on newsprint, it’s good to take some time and figure out how big you want your paper to be in comparison to your print. I ended up leaving about a two inch margin. I’d say for this method of printing to not go much smaller than a one inch margin so that its easy to print. Instead of slicing my paper to get straight edges, I chose to tear the edges using the metal ruler. Lining the ruler up along the edge you want to cut, hold down the ruler in your left hand and tear the right side upwards. This creates a really nice decal edge which makes the print nice to display.
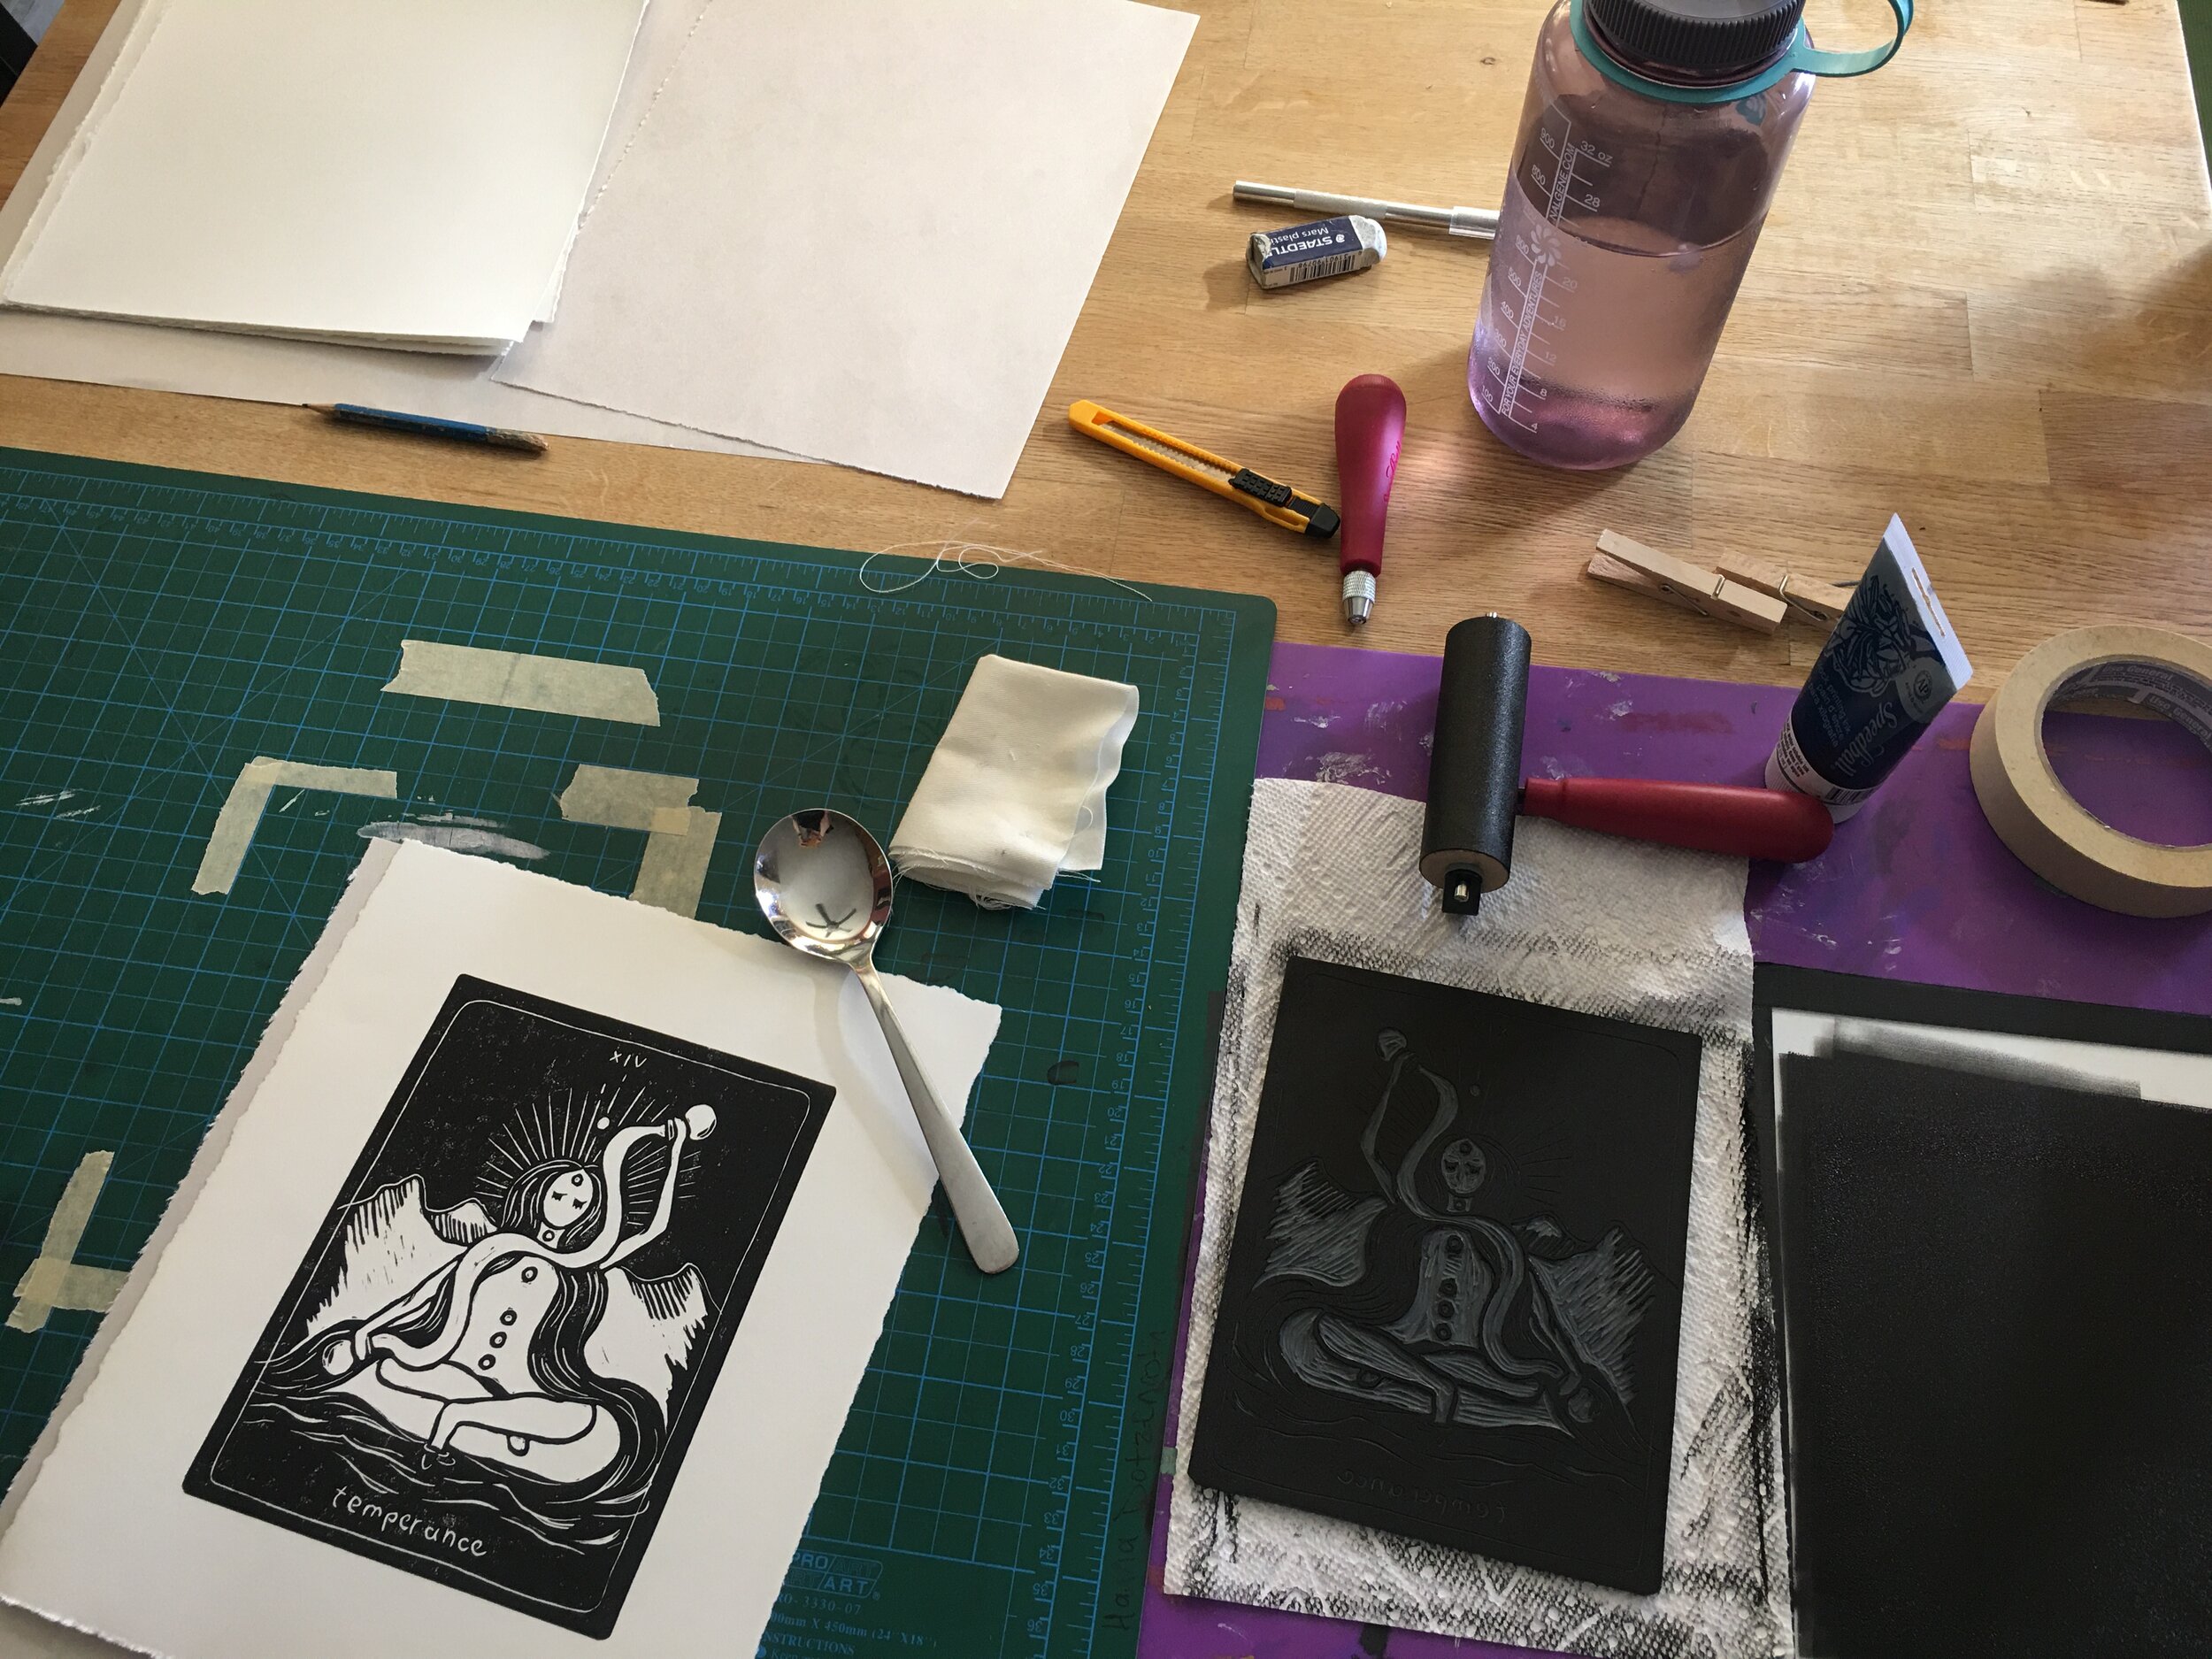
printing!
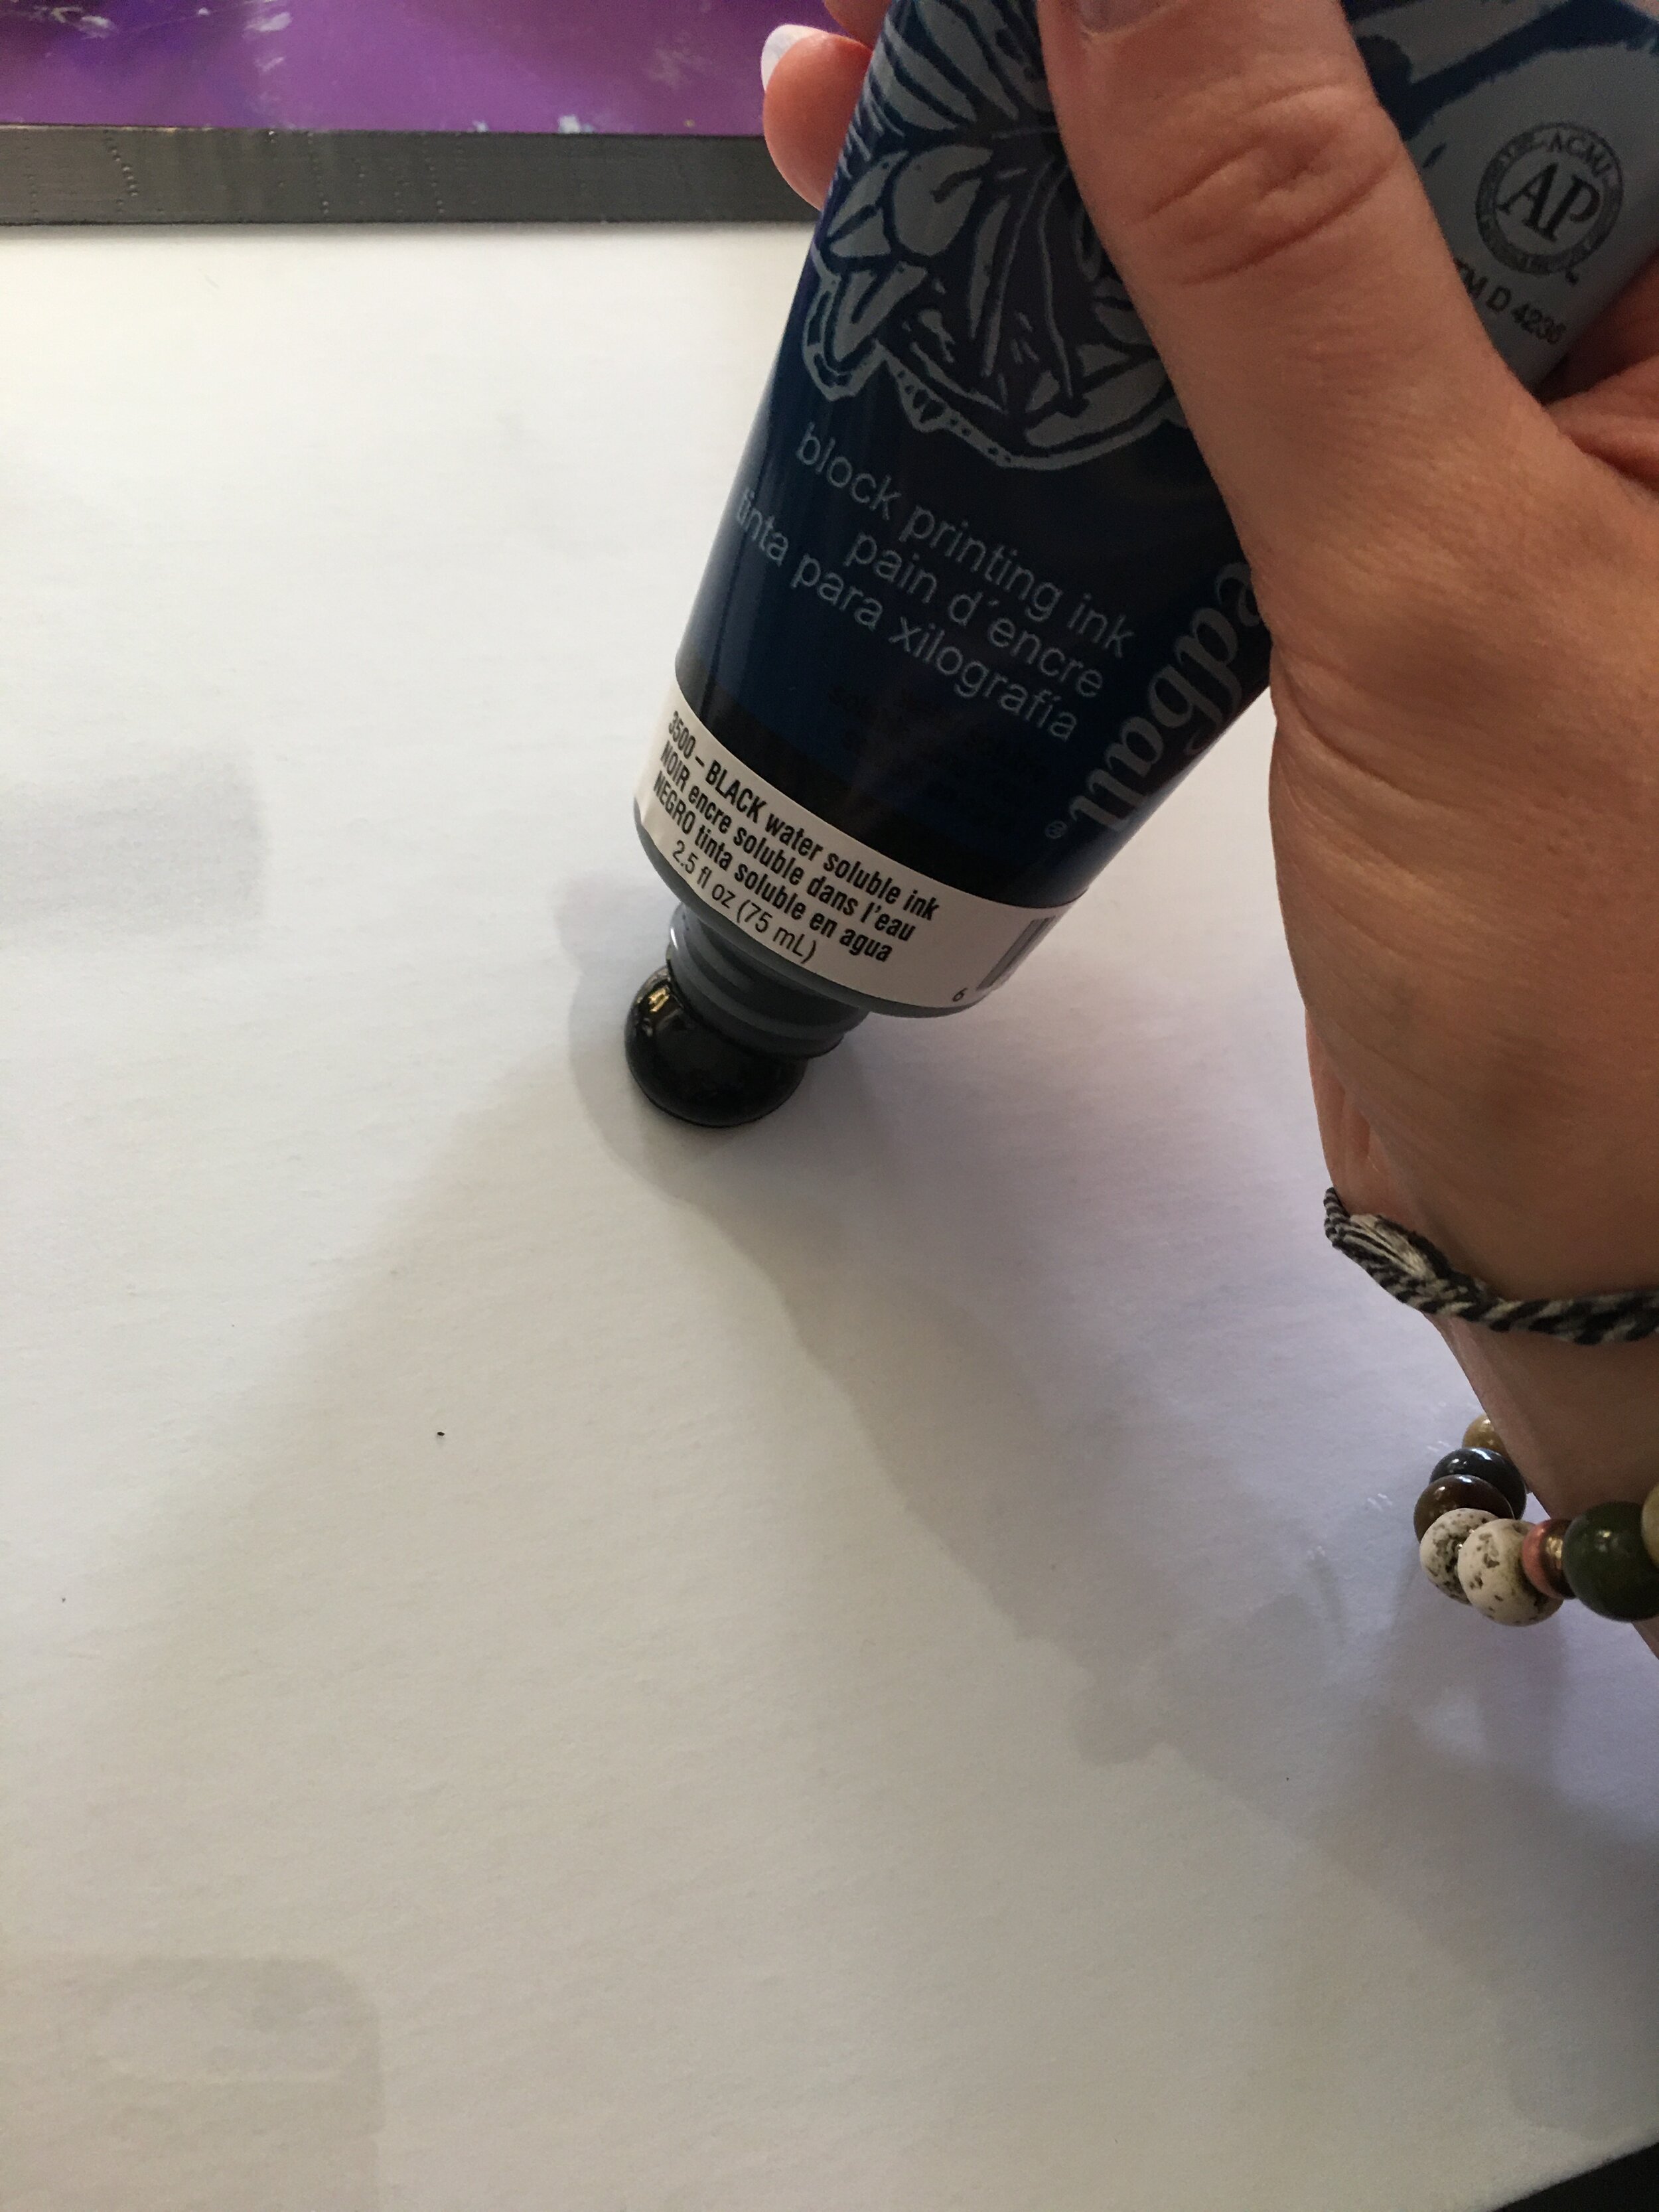
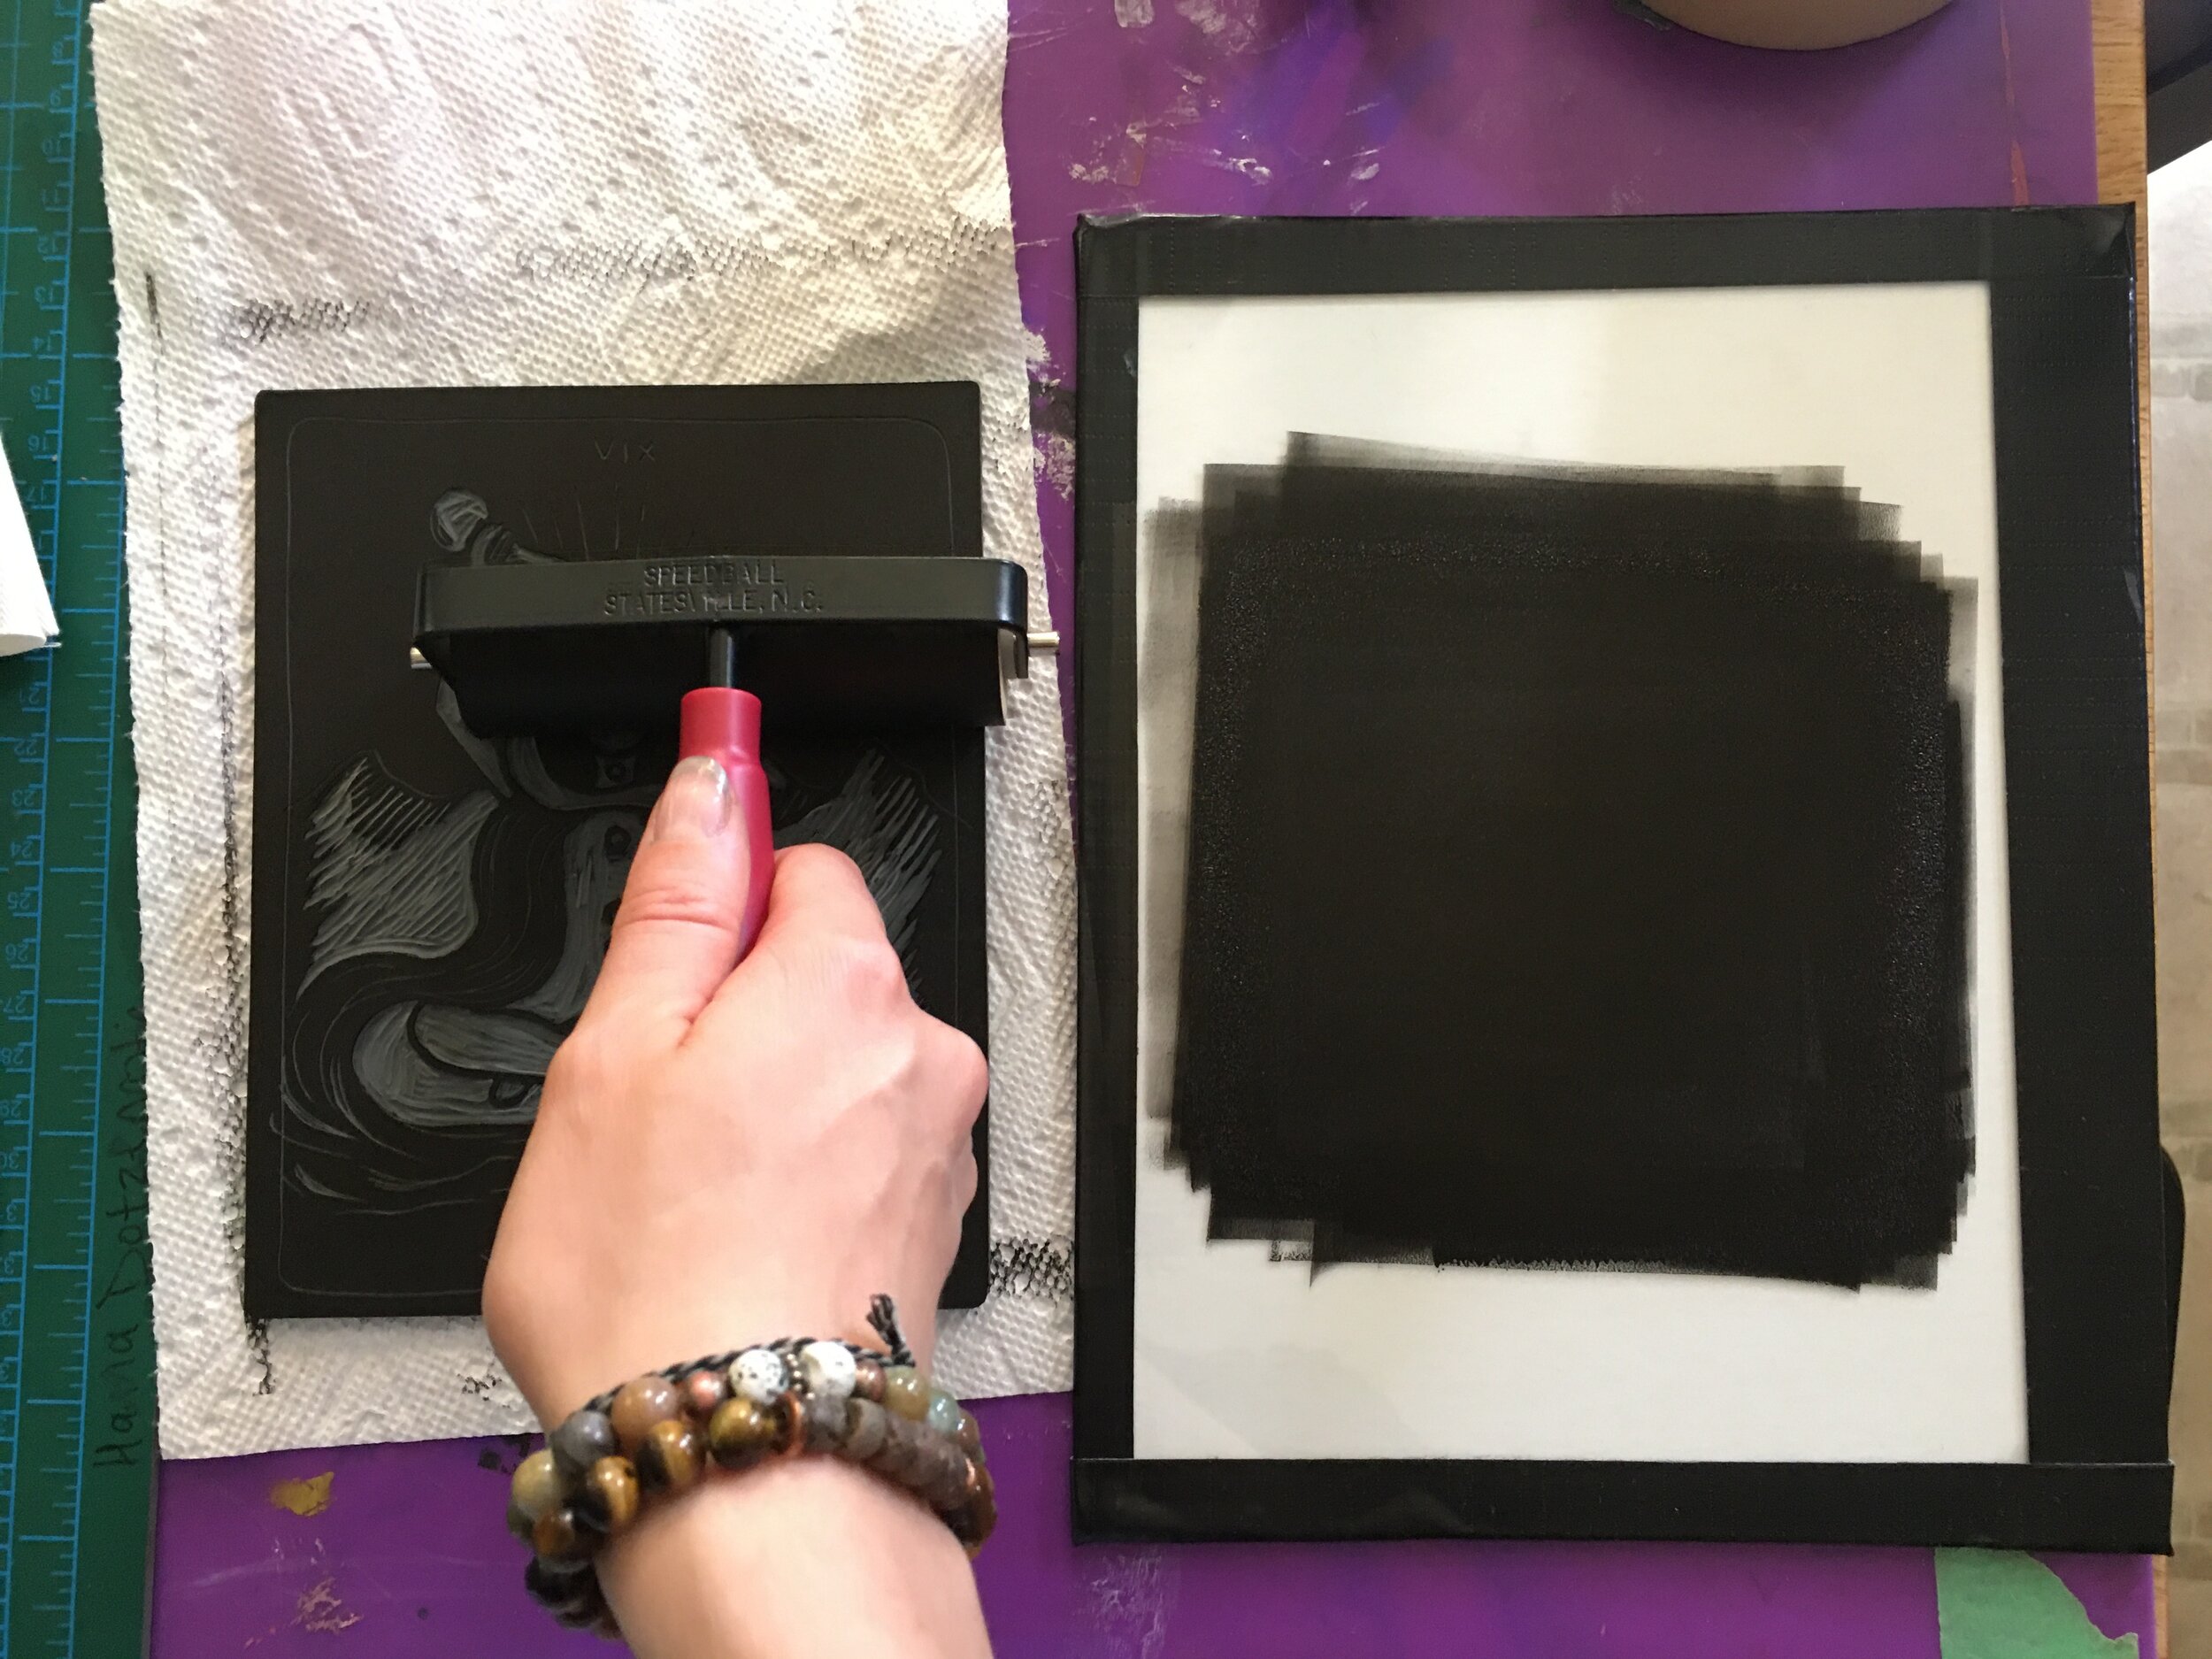
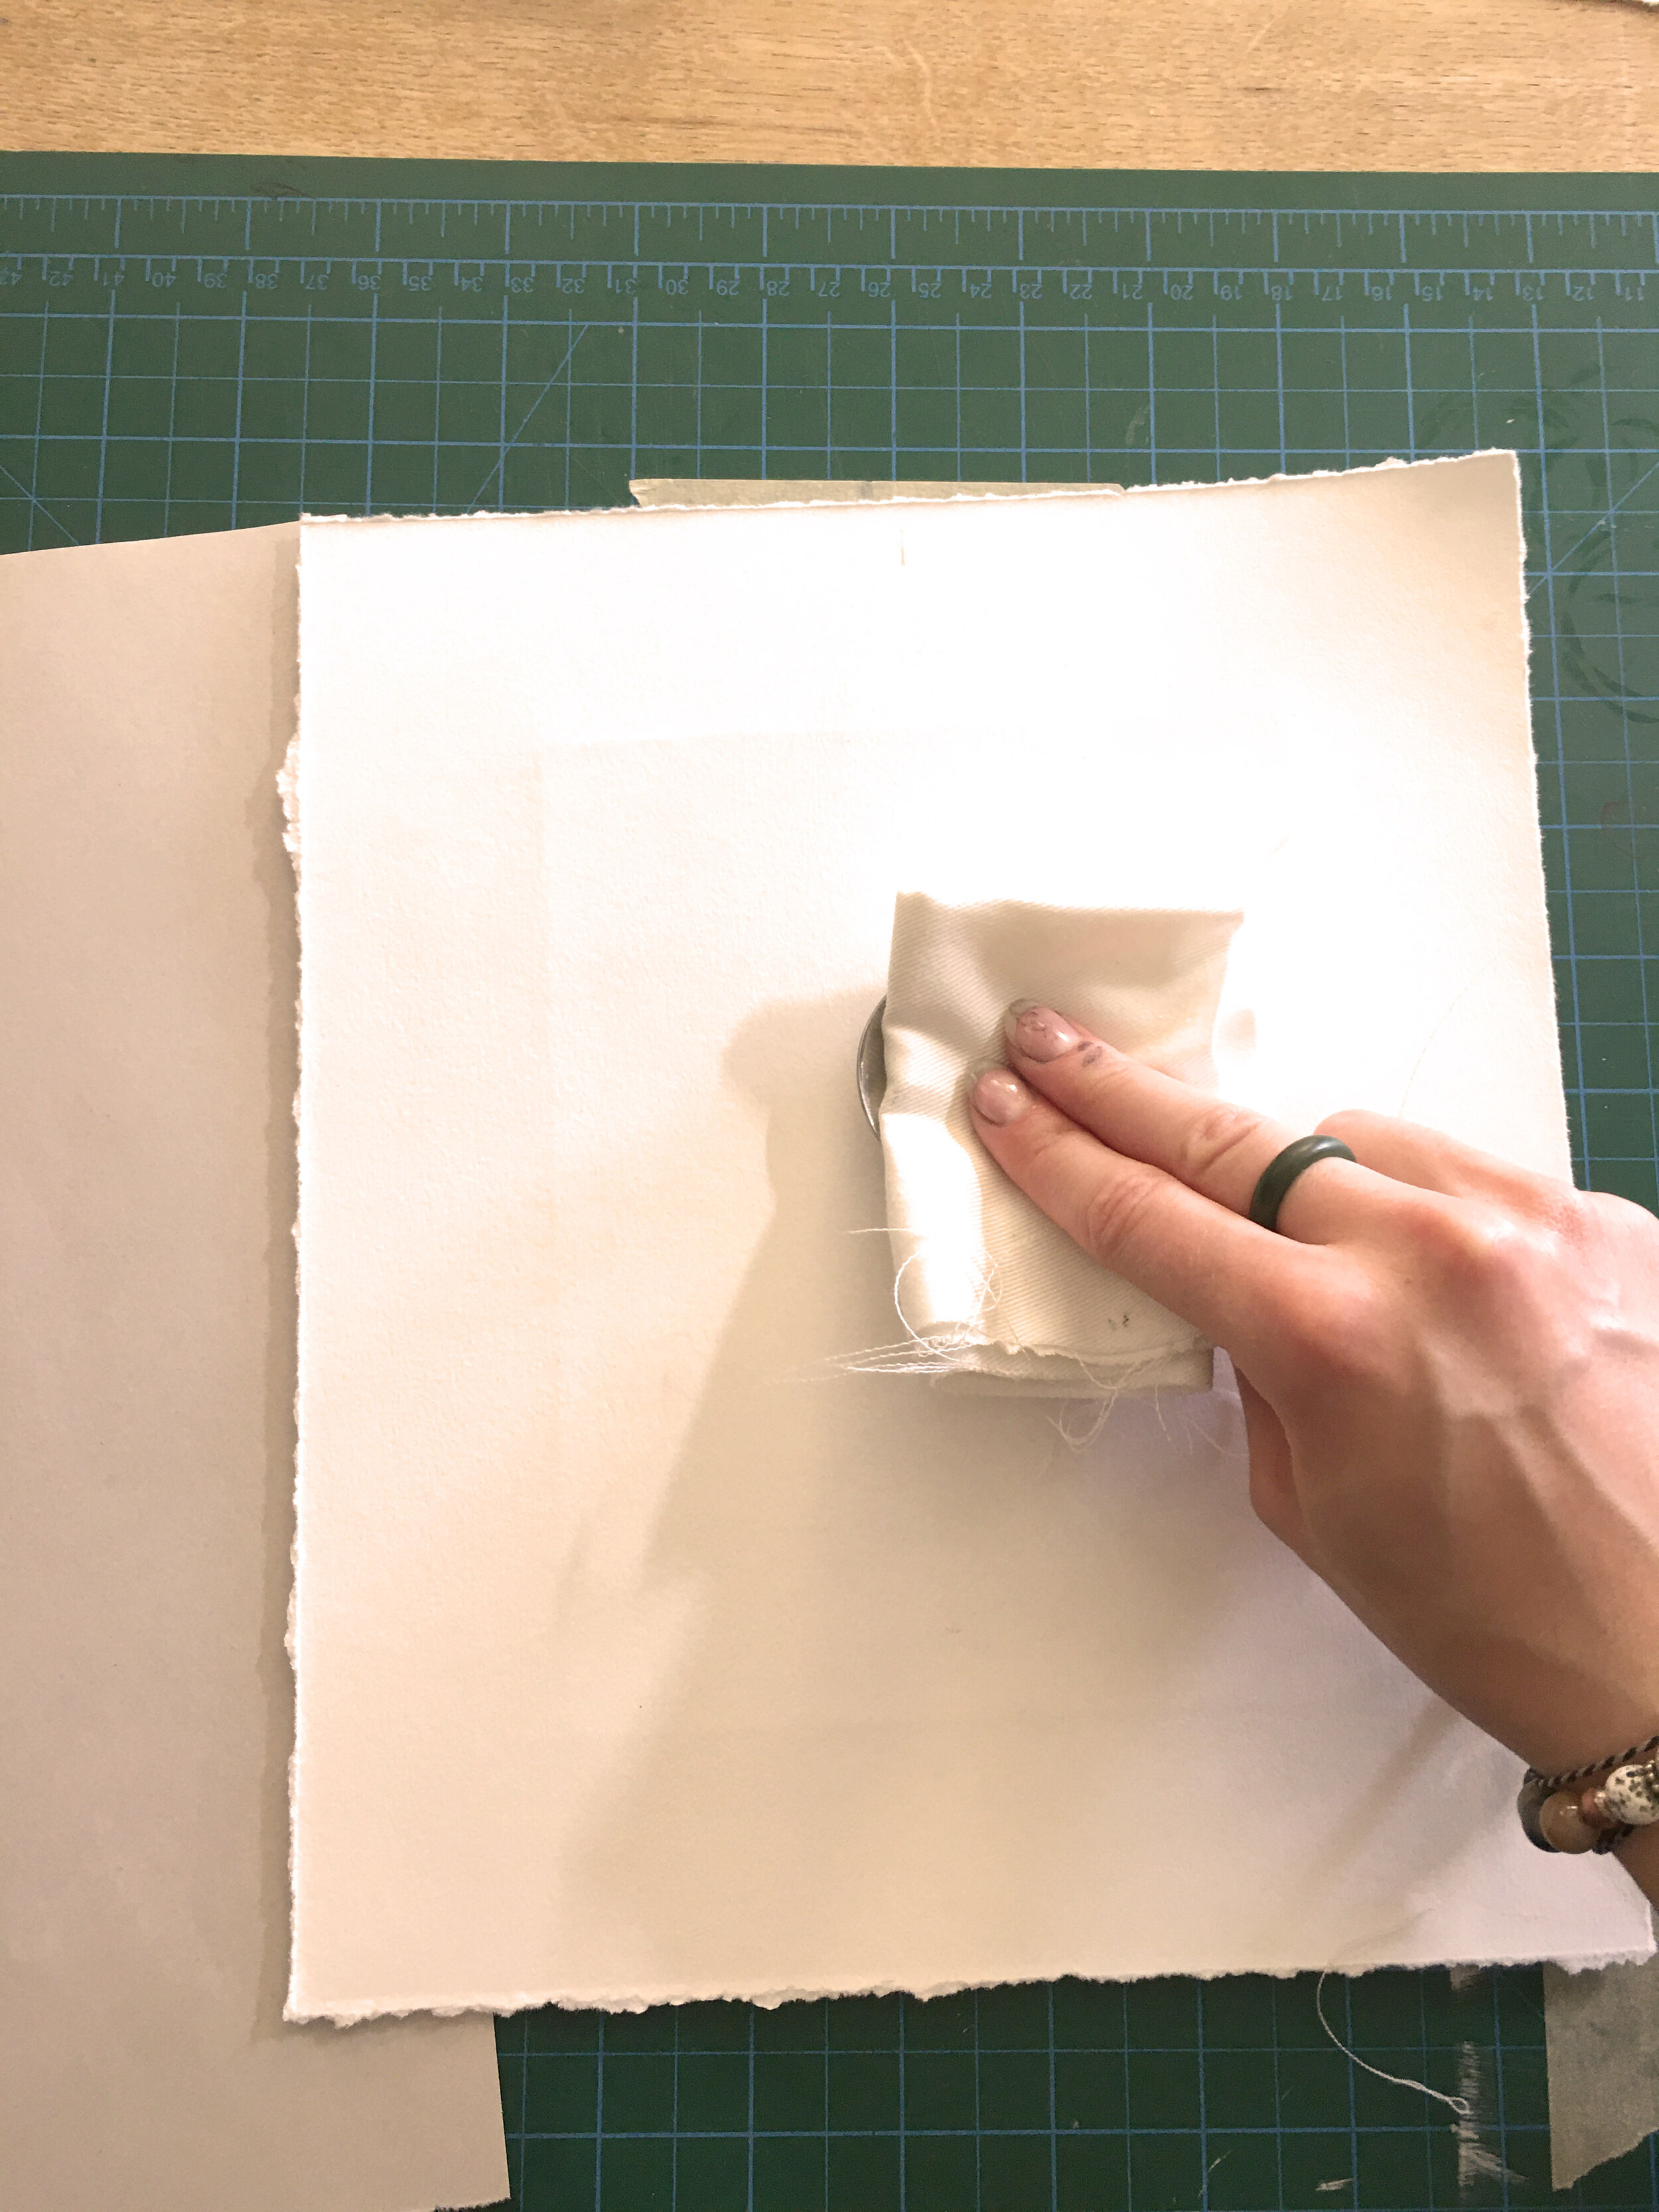
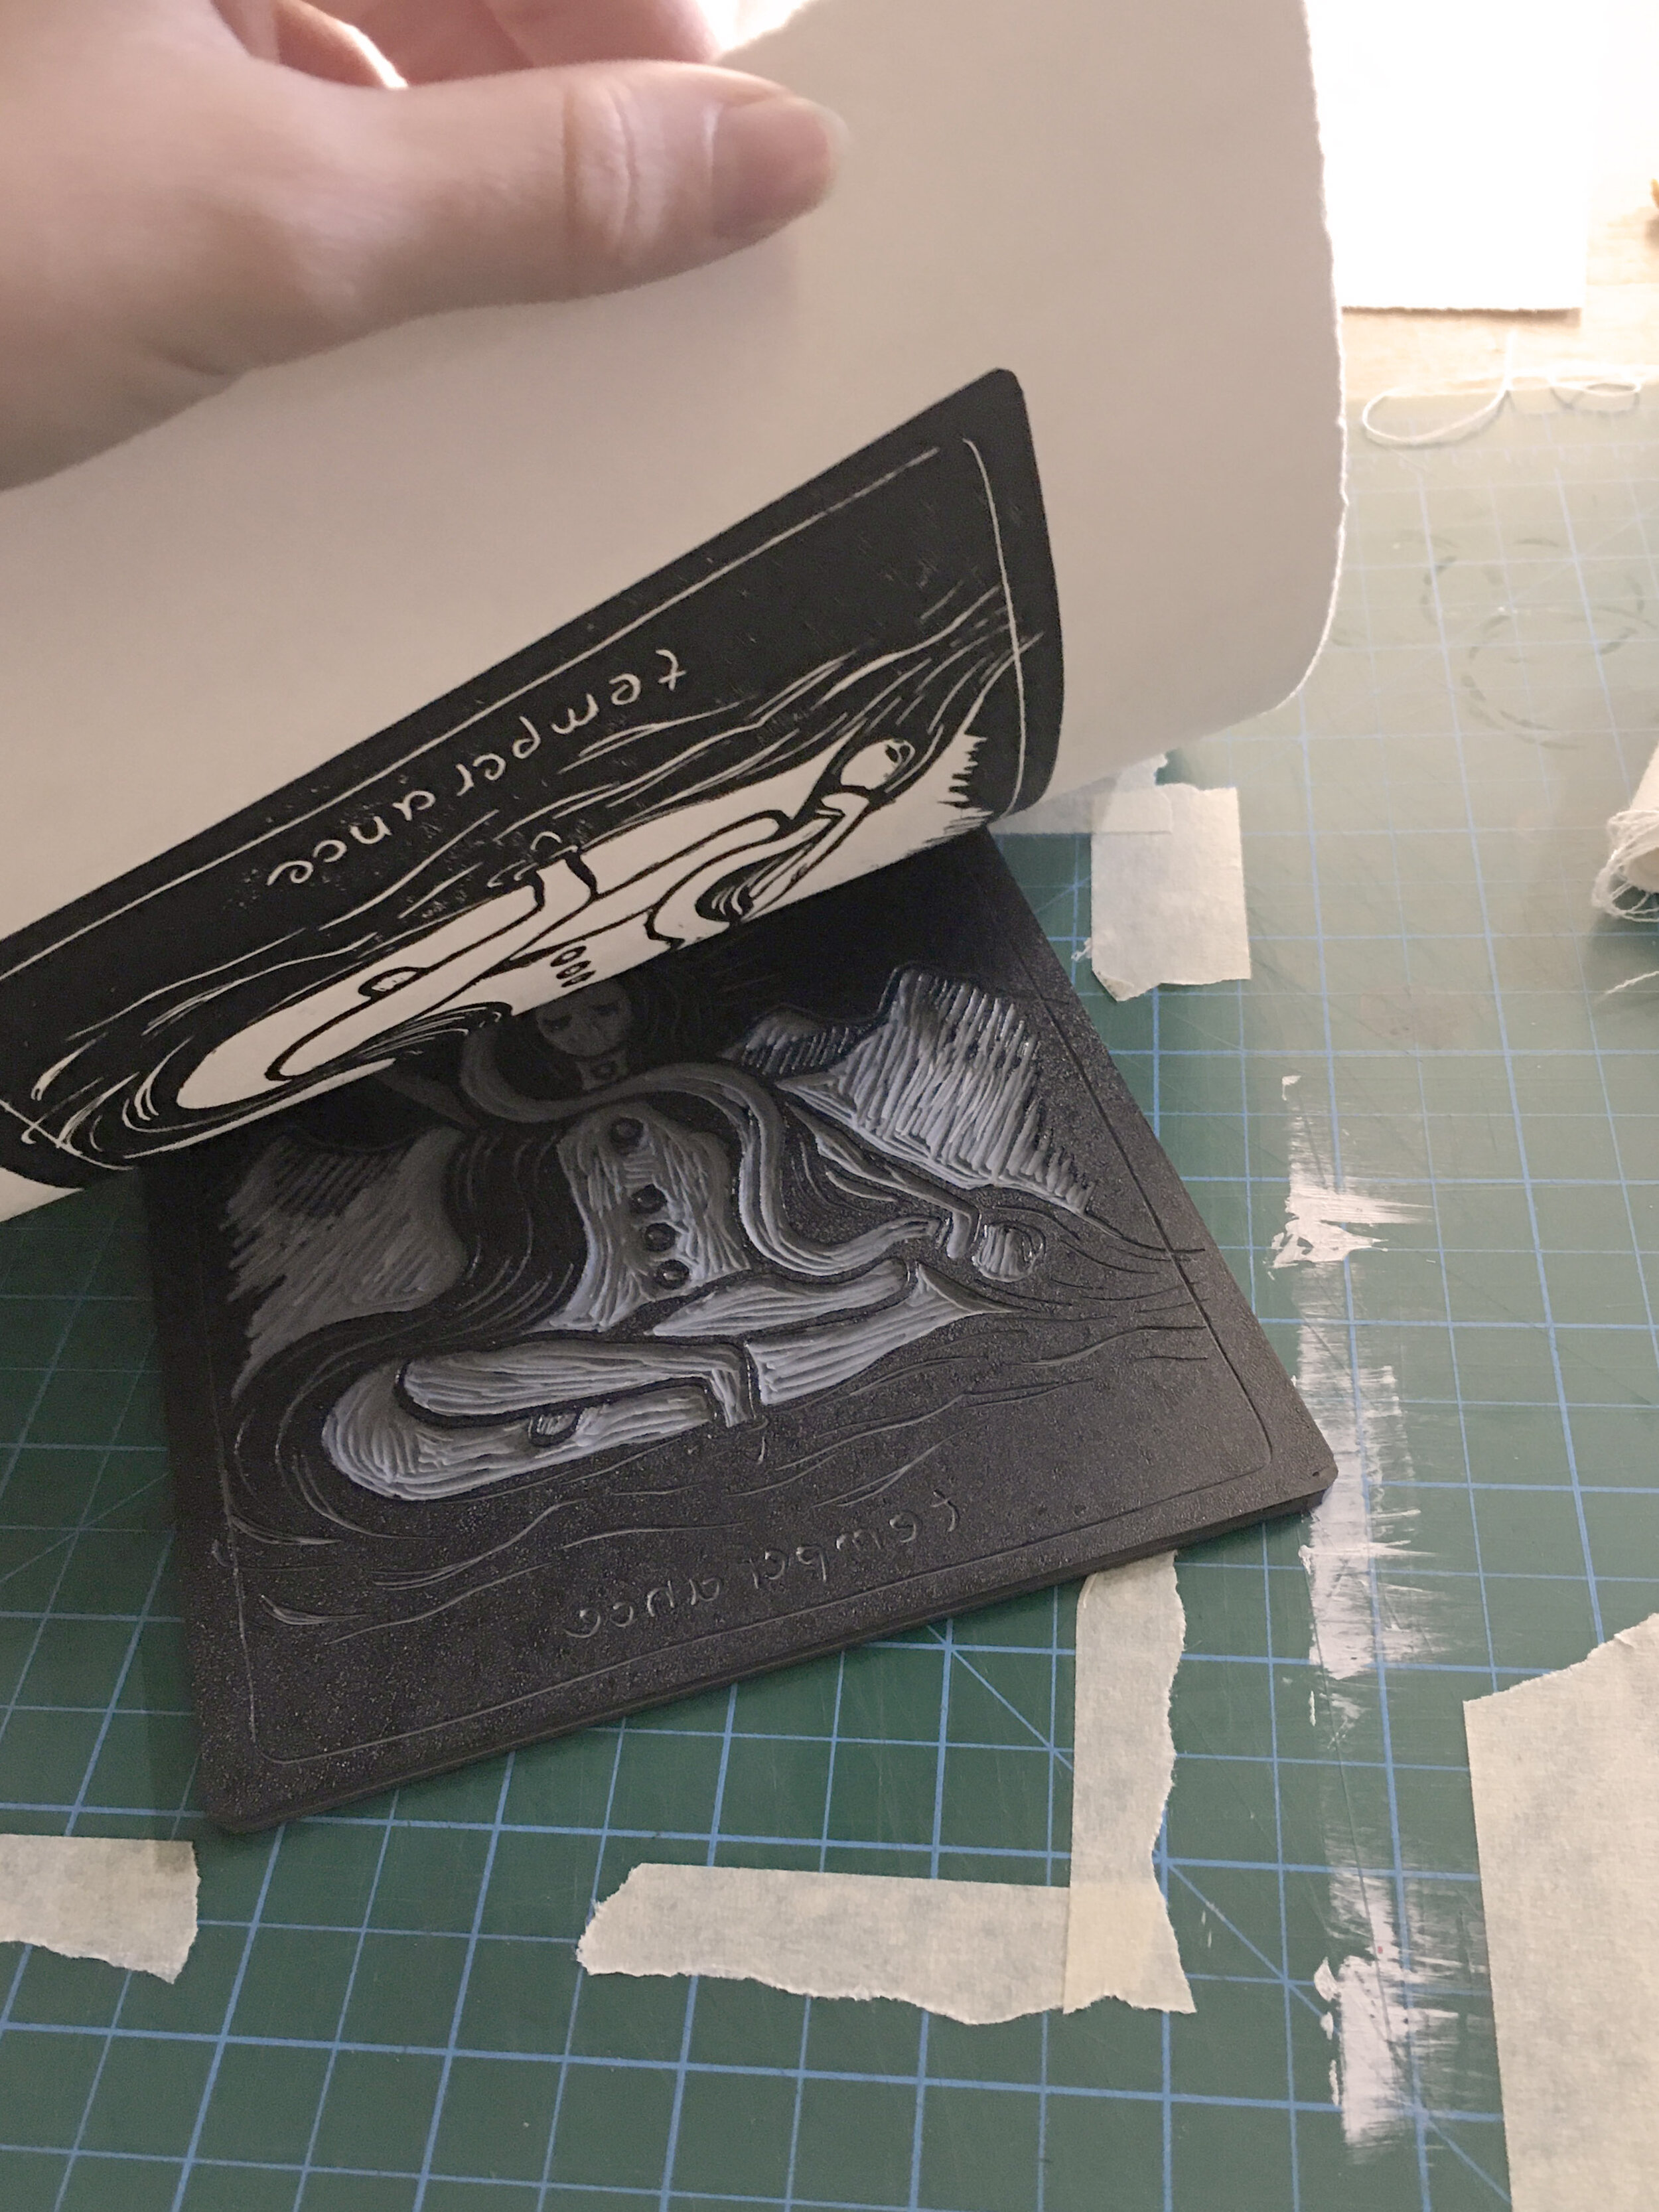
Making sure both your palette and your lino block are clean and free of dust, start off with about a dime sized amount of ink on the palette. Then using the roller, you can start to roll that amount of ink across the palette. Rotate your roller 90 degrees as you are going to make sure the ink is evenly coating the roller both horizontally and vertically, we don’t want any big globs on the roller. Then roll the ink straight onto your clean block making sure to make a nice even coating of ink. I went over my block about 3 times with the roller to make sure it was even.At this point, I moved my inked up block to a clean surface where I had created registration marks with the tape. I marked out where the block goes and the top and side of the paper so that it was easy to place the paper in the right spot. Once the paper is lined up evenly, I slowly lowered it onto the block, making sure not to lift up at any point. Then I pressed it down onto the block just with my hands to make sure the paper didn’t move.To print, I used the back of a metal soup spoon with a folded piece of cotton fabric between my fingers and the spoon to protect my fingers from the heat produced by friction. Then using small circular motions, I pressed the paper down onto the block with the spoon. Note: if your block is smaller than this, like palm sized, its pretty easy to just press it down using your hand and body weight, the spoon method is just for larger prints. I kept up the spoon motion for about 2 minutes per print and made sure I could start to see the image coming through the paper. Then slowly, I peeled the paper off of the block making sure not to touch the white borders with dirty hands.For an edition, repeat this process as many times as you need, inking up the same way each time. I’m not sure what it is with water based inks, but I found mine getting really thick after a couple prints to the point that I was loosing some detail from my image. At this point, I just washed off my block, palette and roller and let them dry before I kept going. I don’t know if there is a better way to prevent that from happening, that’s just what I found worked best. In an edition of 12 prints, I ended up having to clean my block two or three times, so you can still get quite a few prints before it gets cakey.And that’s it! You now have an edition of beautiful lino cut prints ready for display or framing. Although it took me an entire day just to print, I had so much fun with the process and I really enjoyed doing it by hand. You can find this edition available for purchase on my etsy if you are interested. If you have any questions, I would love to answer them in the comments!